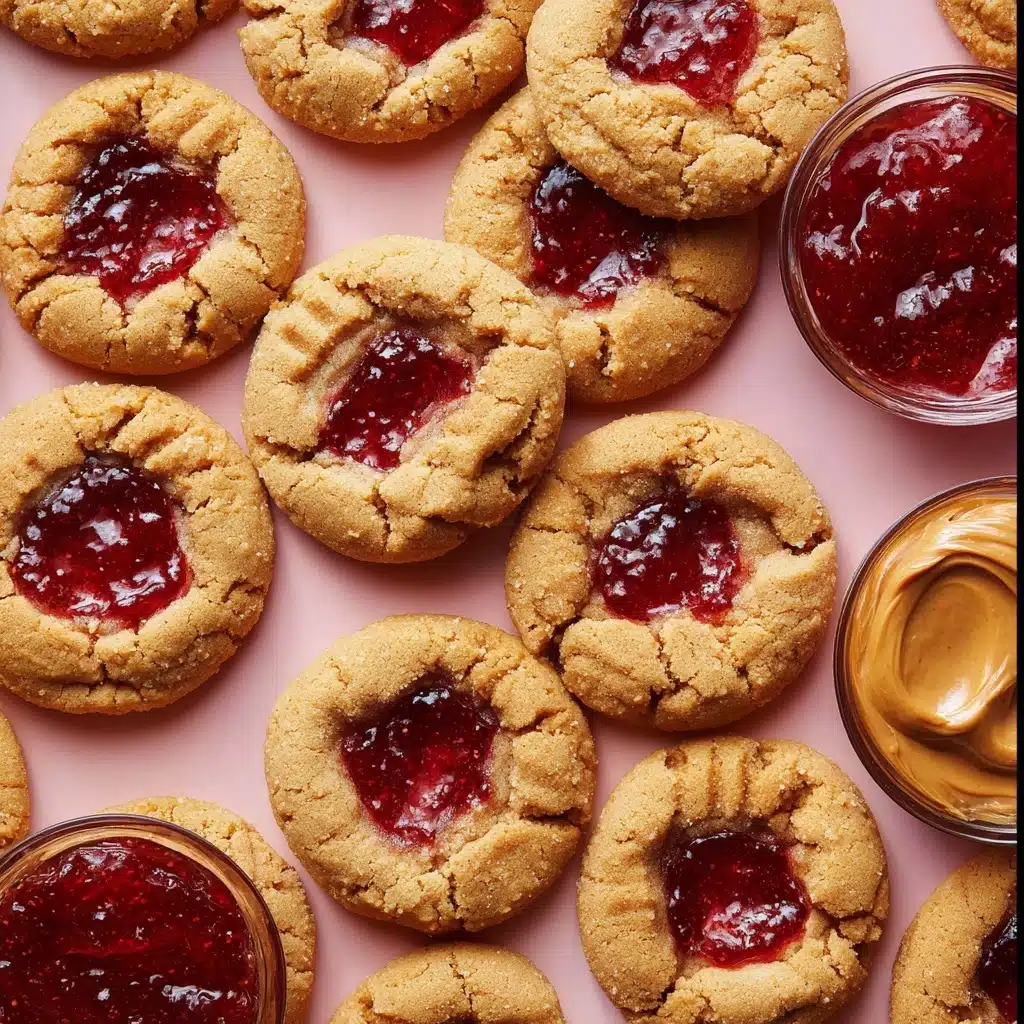
Peanut Butter and Jelly Cookies are everything you love about your favorite childhood sandwich, baked into a thick, tender cookie with a playful surprise of gooey jam inside. These cookies are the ultimate nostalgic treat: golden and slightly crisp around the edges, soft and chewy in the center, with a beautiful swirl of sweet strawberry preserves mingling with bold peanut butter flavor. Whether you’re baking for a school function or simply soothing that PB&J craving, this recipe is sure to win hearts (and appetites) in one bite.
Ingredients You’ll Need
You don’t need a mile-long list to make magic happen! Every ingredient in Peanut Butter and Jelly Cookies has a job: creating that plush texture, deep nutty flavor, or jammy burst. Let’s take a look at what makes these cookies so special, one essential building block at a time.
- Unsalted butter: Gives the cookies richness and that classic tender crumb; melting it ensures easy mixing with peanut butter.
- Creamy natural peanut butter: For robust, authentic peanut flavor; make sure you stir it well to avoid oily pockets.
- Light brown sugar: Brings moisture and a gentle molasses note, which pairs beautifully with peanut butter.
- Granulated sugar: Adds sweetness and helps with those crisp, golden edges.
- Bleached all-purpose flour: The secret to soft, non-crumbly cookies; using bleached flour really improves the texture here.
- Baking soda: Helps the cookies puff up just enough and aids in browning.
- Baking powder: Provides additional lift, ensuring these cookies aren’t too dense.
- Fine sea salt: Balances sweetness and draws out the full peanut-y flavor.
- Large eggs: Bind everything together and add chewiness; make sure they’re at room temperature for smooth mixing.
- Milk: Just a splash for tenderness and a smooth dough.
- Vanilla extract: Rounds out sweet and savory notes with extra warmth and aroma.
- Strawberry jam or jelly: The classic partner for peanut butter; use it chilled for easier handling and bolder pockets of flavor.
How to Make Peanut Butter and Jelly Cookies
Step 1: Prep Your Oven and Pans
Begin by preheating your oven to 350°F, so it’s hot and ready to turn out beautifully-baked Peanut Butter and Jelly Cookies. Line your baking sheets with parchment paper—this ensures your cookies release easily with gorgeously golden bottoms.
Step 2: Melt the Butter and Mix with Peanut Butter
In a large, microwave-safe bowl, gently melt the butter in 20-second bursts. This allows it to liquefy without becoming too hot. Stir your creamy natural peanut butter right into the warm butter; they’ll blend together into a silky, deeply-flavored base—the foundation of every great PB&J cookie bite!
Step 3: Add Sugars and Cool Slightly
Time to whisk in both sugars: light brown for chew and depth, granulated for crispness. Mix thoroughly until no lumps remain, then let the mixture cool down a bit—just until it’s warm, not hot. This little pause keeps your eggs from scrambling later on.
Step 4: Combine Dry Ingredients
In a separate bowl, whisk together your bleached all-purpose flour, baking soda, baking powder, and sea salt. This step distributes leaveners and salt evenly throughout your dough—no uneven puffiness, just consistent, perfect Peanut Butter and Jelly Cookies every time.
Step 5: Mix Wet and Dry Ingredients
Add eggs, milk, and vanilla to the butter-sugar mixture. Whisk until everything is beautifully cohesive—no streaks or swirls. Then, switch to a sturdy spatula and fold in your dry ingredients. The dough will be thick, plush, and irresistible (try not to taste too much!).
Step 6: Shape and Fill the Cookies
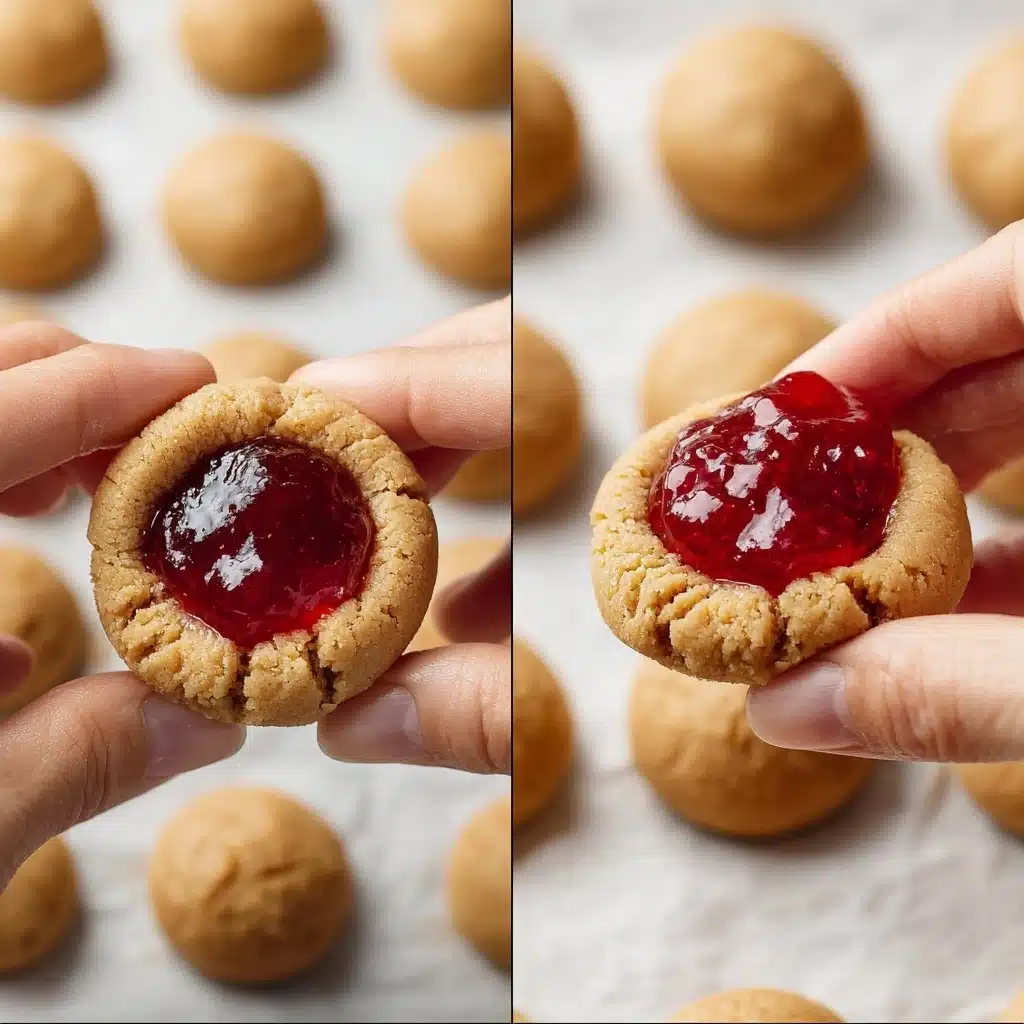
Using a large cookie scoop, portion the dough into 3-tablespoon rounds. Roll each one smooth between your palms, then gently press a thumb into the center to create a well. Spoon a heaping teaspoon of cold strawberry jam or jelly into the center, then carefully fold the dough around it so some jam peeks out. Embrace the mess—it’s worth it for that sticky, gooey surprise in every bite!
Step 7: Bake to Perfection
Arrange the filled dough balls jam-side up, with plenty of space between them. Bake for about 14 minutes, until the edges are lightly brown and the centers are just set. The cookies should still look slightly soft—they’ll finish setting as they cool.
Step 8: Cool and Enjoy
After baking, let your Peanut Butter and Jelly Cookies rest on the baking sheet for 5 minutes. Then transfer them to a wire rack to cool completely. This keeps them delightfully soft in the middle while letting the jam set just enough for perfect, handheld treats.
How to Serve Peanut Butter and Jelly Cookies
Garnishes
For a professional finish, dust your cookies lightly with powdered sugar or drizzle with a little melted white chocolate. A sprinkle of finely chopped roasted peanuts adds extra crunch, and a tiny pinch of flaky sea salt beautifully intensifies the peanut butter flavor.
Side Dishes
These cookies pair wonderfully with cold milk, of course, but try them with a hot cup of coffee or a berry smoothie for an extra-special treat. If you’re serving a crowd, a platter of fresh fruit complements the sweet and nutty notes, while balancing out the richness.
Creative Ways to Present
Kids love finding these tucked inside lunchboxes wrapped in colorful parchment. Stack a few in a clear cellophane bag tied with string for a homemade gift, or set them on a tiered stand with classic peanut butter and jelly sandwiches for the ultimate nostalgic dessert table.
Make Ahead and Storage
Storing Leftovers
Your Peanut Butter and Jelly Cookies will stay soft for up to two days in an airtight container at room temperature. They’re at their best within the first day or so, as the jam begins to soften the cookie slightly and melds all the flavors together for that irresistible, tender bite.
Freezing
For longer storage, these cookies freeze beautifully! Once completely cooled, layer them between sheets of parchment in an airtight container. They’ll keep for up to three months. Thaw at room temperature and they’re ready for a sweet, spontaneous snack anytime.
Reheating
If you love that just-baked warmth, pop a cookie in the microwave for 10-15 seconds before eating. The peanut butter aroma will intensify, and the jam turns gooey again—just like fresh from the oven!
FAQs
Can I use grape or raspberry jelly instead of strawberry?
Absolutely! While strawberry is classic for Peanut Butter and Jelly Cookies, you can swap in any jelly or jam you love. Grape offers that school-lunch nostalgia, while raspberry brings a little tartness that plays beautifully off the sweet and salty peanut butter.
What’s the best way to measure flour for this recipe?
Spoon flour lightly into your measuring cup and level it off with a knife, or better yet, use a kitchen scale for the most reliable results. Too much flour can make the cookies dry, so careful measuring really makes a difference!
Can I use crunchy peanut butter?
Yes! If you love a little added texture, crunchy peanut butter works well, giving the cookies an appealing bite. Just be sure to stir it well before measuring and expect pockets of chopped peanuts throughout.
Why do I need to use bleached flour specifically?
Bleached flour absorbs liquid differently than unbleached, yielding a more tender, cohesive cookie. Using unbleached flour can make your dough crumbly, so if you must substitute, use slightly less and adjust if needed for a dough that holds together nicely.
Can I make these ahead for a party?
Yes! Bake the Peanut Butter and Jelly Cookies up to 24 hours in advance and store them in an airtight container. They stay delightfully soft and flavorful, making them perfect for prepping ahead and enjoying stress-free on the big day.
Final Thoughts
If you’re looking for a recipe that’s playful, nostalgic, and guaranteed to get smiles, Peanut Butter and Jelly Cookies are it. Give them a try the next time you need a sweet pick-me-up—I promise, you’ll be making new memories with every delectable, jam-filled bite!
PrintPeanut Butter and Jelly Cookies Recipe
These Peanut Butter and Jelly Cookies are a delightful twist on the classic PB&J sandwich. Soft and chewy peanut butter cookies with a sweet strawberry jam center, they are perfect for both kids and adults alike.
- Prep Time: 25 minutes
- Cook Time: 14 minutes
- Total Time: 39 minutes
- Yield: 21 cookies
- Category: Dessert
- Method: Baking
- Cuisine: American
- Diet: Vegetarian
Ingredients
For the Cookie Dough:
- 1 stick (113 grams) unsalted butter
- 1 cup (270 grams) creamy natural peanut butter*, very well stirred
- 1 cup (200 grams) packed light brown sugar
- 3/4 cup (150 grams) granulated sugar
- 2 ¾ cups (349 grams) bleached all-purpose flour**
- ¾ teaspoon baking soda
- ½ teaspoon baking powder
- ½ teaspoon fine sea salt
- 2 large eggs, at room temperature
- 1 tablespoon milk
- 2 teaspoons vanilla extract
For the Filling:
- ¾ cup (240 grams) strawberry jam or jelly, chilled
Instructions
- Preheat the oven to 350°F. Line large rimmed baking sheets with parchment paper.
- Melt the butter in a microwave-safe bowl. Combine with peanut butter and sugars. Let cool.
- Whisk together the dry ingredients in a separate bowl.
- Add eggs, milk, and vanilla to the butter mixture. Stir well.
- Combine wet and dry ingredients to form dough.
- Form dough balls with jam centers and place on baking sheet.
- Bake for about 14 minutes.
- Cool on baking sheet before transferring to a rack.
- Store in an airtight container.
Notes
- *For best results, use natural peanut butter that is well stirred.
- **Bleached all-purpose flour is recommended for this recipe.
Nutrition
- Serving Size: 1 cookie
- Calories: 220
- Sugar: 16g
- Sodium: 150mg
- Fat: 11g
- Saturated Fat: 4g
- Unsaturated Fat: 6g
- Trans Fat: 0g
- Carbohydrates: 27g
- Fiber: 1g
- Protein: 4g
- Cholesterol: 25mg


