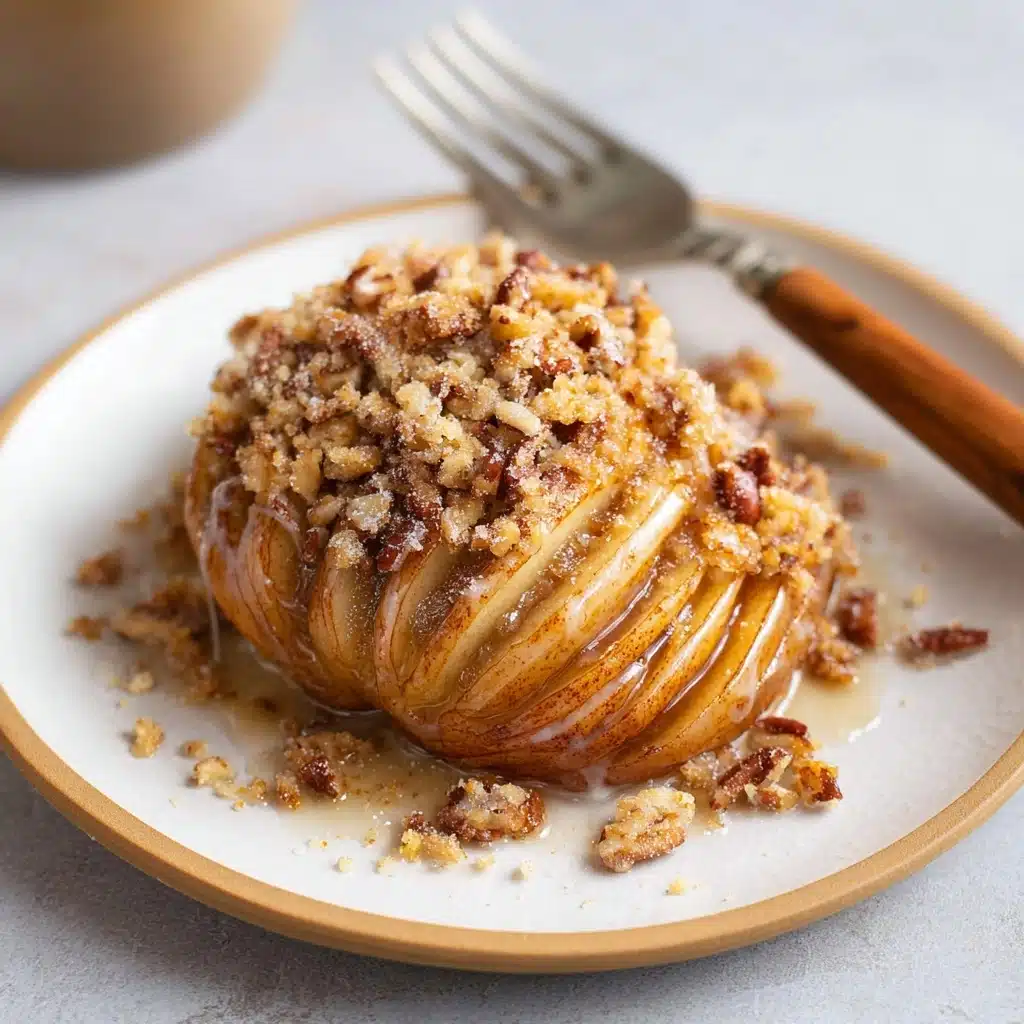
If you’re looking for an autumn-inspired dessert that’s elegant yet incredibly approachable, Hasselback Baked Apples are a revelation. This recipe takes the classic baked apple to new heights, creating tender layers that hold a warm spiced filling, then playing it up with crunchy, toasty toppings. The Hasselback technique gives each bite just the right amount of caramelized edges, while the apple itself stays juicy in the middle. Whether you’re entertaining or craving something special for yourself, these Hasselback Baked Apples are everything cozy, nostalgic, and delicious—gluten free, dairy free, and naturally sweetened too!
Ingredients You’ll Need
The beauty of Hasselback Baked Apples is you don’t need a complicated ingredient list; just a handful of thoughtfully chosen items. Each ingredient here adds something unique, from the comforting warmth of cinnamon to the crunchy contrast of pecans.
- Apples: Red Delicious, Honeycrisp, or Braeburn offer the best blend of sweetness and structure for perfect layering.
- Melted coconut oil: This makes the apple skins glossy and helps caramelize the slices in the oven.
- Cinnamon: The star spice for warmth and that classic apple pie aroma.
- Honey (or maple syrup): Naturally sweetens while creating a lovely glaze—maple syrup keeps it vegan.
- Unsweetened shredded coconut: Adds richness and a hint of chew to the filling.
- Nutmeg: A must for its earthy, aromatic depth.
- Coconut oil (for the filling): Keeps the filling moist and full of flavor.
- Almond flour: Adds body and a gentle nuttiness to hold the filling together.
- Salt: Just a pinch magnifies all the sweet and spiced notes.
- Toasted pecans: Their warmth and crunch take these apples over the top.
- Coconut whipped cream or ice cream: Serve on top for a creamy, dreamy finish!
How to Make Hasselback Baked Apples
Step 1: Prep Your Apples
Preheat your oven to 400 degrees Fahrenheit. Start by peeling your apples, then halve and core them. Lay the apples flat side down and slice crosswise every quarter-inch, but be careful not to cut all the way through—leave about a quarter inch intact at the bottom so the slices fan out but stay connected. This iconic Hasselback technique lets flavor seep into every nook!
Step 2: Glaze and Bake
Mix together melted coconut oil, honey (or maple syrup), and cinnamon in a small bowl. Arrange your sliced apples face down in a baking dish and brush them generously with the glaze, making sure to get it into every slit. Cover with foil and bake for 25 to 30 minutes, until the apples are starting to get tender and your home smells heavenly.
Step 3: Make the Filling
While your apples begin to bake, stir together the shredded coconut, almond flour, cinnamon, nutmeg, a touch of honey (or maple), coconut oil, and a pinch of salt. For added moisture and flavor, spoon in a bit of the apple juices that pool in the bottom of your baking dish—this blends the flavors beautifully.
Step 4: Stuff and Finish Baking
Once the apples have softened a bit, carefully work a pinch or two of the coconut nut mixture into each Hasselback slice. It can be a little fiddly, but using a fork helps! Slide the baking dish back into the oven uncovered, and bake for another 10 minutes until the filling is lightly golden and fragrant.
Step 5: Top and Serve
To serve, give your Hasselback Baked Apples a flourish of chopped toasted pecans and a dollop of coconut whipped cream or a scoop of dairy free ice cream. The hot-cold contrast is irresistible, and those caramelized, spiced layers are swoon-worthy.
How to Serve Hasselback Baked Apples
Garnishes
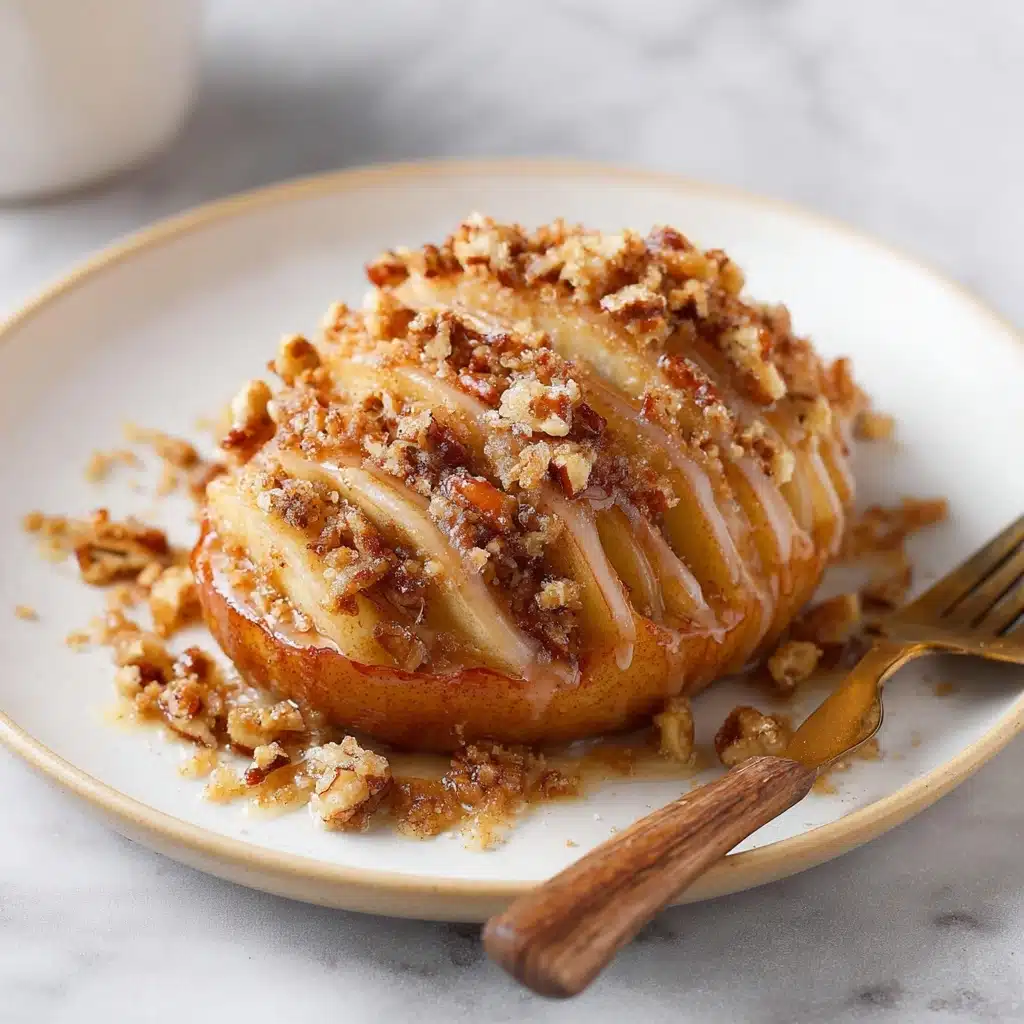
The finishing touches are where you can get playful! Sprinkle with chopped toasted pecans for a delightful crunch, and don’t forget a generous swirl of coconut whipped cream or a creamy scoop of ice cream. You could also drizzle a little extra honey or maple syrup on top for an added glossy shine.
Side Dishes
Pair Hasselback Baked Apples with strong coffee or chai tea for an unbeatable brunch. If you’re serving these for dessert, try them after a cozy Sunday roast or alongside a warming soup and salad combo for lunch. The spices also pair beautifully with an almond-flour cookie or a scoop of cinnamon oat ice cream.
Creative Ways to Present
Try baking each apple half in its own mini cast iron skillet for individual servings, or plate the apples on a big rustic board mounded with extra toasted nuts and fresh mint leaves. For special occasions, use a piping bag to swirl coconut cream into each slice for a truly show-stopping display. Hasselback Baked Apples always look gorgeous arranged center-table, begging guests to dig in.
Make Ahead and Storage
Storing Leftovers
If you find yourself with extra Hasselback Baked Apples, let them cool completely, then cover and store in an airtight container in the fridge. They’ll stay fresh and flavorful for up to three days—perfect for make-ahead desserts or an indulgent breakfast treat.
Freezing
While they’re best enjoyed freshly baked for that tender texture, you can freeze the apples (without toppings) if needed. Wrap each cooled apple half tightly in foil, then place them in a resealable freezer bag for up to two months. Thaw overnight in the fridge before reheating.
Reheating
To rewarm, place the apples in a baking dish, cover with foil, and heat gently at 325 degrees Fahrenheit for about 10 to 15 minutes. Add your toppings fresh just before serving. If you’re short on time, a quick zap in the microwave works too, though the oven keeps the slices at their best.
FAQs
Can I use a different type of apple for Hasselback Baked Apples?
Absolutely! While Red Delicious, Honeycrisp, and Braeburn apples hold up best, feel free to experiment with your favorite firm baking varieties. Just note that very soft apples might break apart a bit more as they bake.
How do I make Hasselback cuts without slicing all the way through?
Place a pair of chopsticks or wooden spoons on either side of your apple halves as you slice—your knife will hit the sticks before it goes all the way through, making it nearly foolproof for that classic Hasselback look.
What if I’m allergic to nuts?
No problem! Simply omit the almond flour in the filling and the pecan topping. You can swap in oat flour or coconut flour for a nut-free version, and add toasted sunflower or pumpkin seeds for crunch.
Can the filling be made ahead of time?
Yes, the coconut filling can be mixed and stored in an airtight container in the fridge for two days in advance. Give it a good stir before using, and add a bit of apple juice from the pan to loosen it if needed.
Is there a way to make Hasselback Baked Apples extra decadent?
If you’re feeling indulgent, add a handful of mini chocolate chips or drizzle melted dark chocolate over the apples just before serving. The combination of warm apples, spices, and chocolate is truly special!
Final Thoughts
I can’t recommend these Hasselback Baked Apples enough; they’re simple, impressive, and genuinely delicious every time. If you’re craving all the comforting flavors of fall with a fresh twist, give these apples a try—you’ll be amazed at how quickly they turn into a forever favorite!
PrintHasselback Baked Apples Recipe
Delicious and healthy Hasselback Baked Apples recipe that’s perfect for a cozy dessert. These apples are filled with a sweet coconut and spice mixture, then baked until tender and topped with creamy coconut whipped cream and crunchy pecans.
- Prep Time: 20 minutes
- Cook Time: 40 minutes
- Total Time: 1 hour
- Yield: 4 servings
- Category: Dessert
- Method: Baking
- Cuisine: American
- Diet: Gluten Free
Ingredients
For the Apples:
- 2 large apples (Red Delicious, Honeycrisp, or Braeburn)
- 2 tbsp melted coconut oil
- 1 tbsp cinnamon
- 1 1/2 tbsp honey (or maple syrup)
For the Filling:
- 3 tbsp unsweetened shredded coconut
- 3/4 tsp cinnamon
- 1 tbsp honey (or maple syrup)
- 1/4 tsp nutmeg
- 3 tbsp coconut oil
- 1 1/2 tbsp almond flour
- pinch of salt
For Toppings:
- 1/4 cup toasted pecans, chopped
- Coconut Whipped Cream or Ice Cream
Instructions
- Preheat the oven: Preheat the oven to 400°F.
- Prepare the Apples: Peel, core, and slice the apples in half. Make thin slices 3/4 of the way through each apple half.
- Coat with Mixture: Mix melted coconut oil, cinnamon, and honey. Brush the mixture over the apples and bake covered for 25-30 minutes.
- Prepare the Filling: Combine shredded coconut, cinnamon, honey, nutmeg, coconut oil, almond flour, and salt. Fill the apple slits with this mixture.
- Finish Baking: Bake the stuffed apples for an additional 10 minutes.
- Serve: Top with coconut whipped cream or ice cream and chopped pecans before serving.
Notes
- You can adjust the sweetness by using more or less honey/maple syrup.
- Feel free to add raisins or chopped dried fruits to the filling for extra flavor.
Nutrition
- Serving Size: 1 stuffed apple half
- Calories: 280
- Sugar: 18g
- Sodium: 65mg
- Fat: 20g
- Saturated Fat: 14g
- Unsaturated Fat: 5g
- Trans Fat: 0g
- Carbohydrates: 26g
- Fiber: 4g
- Protein: 2g
- Cholesterol: 0mg


