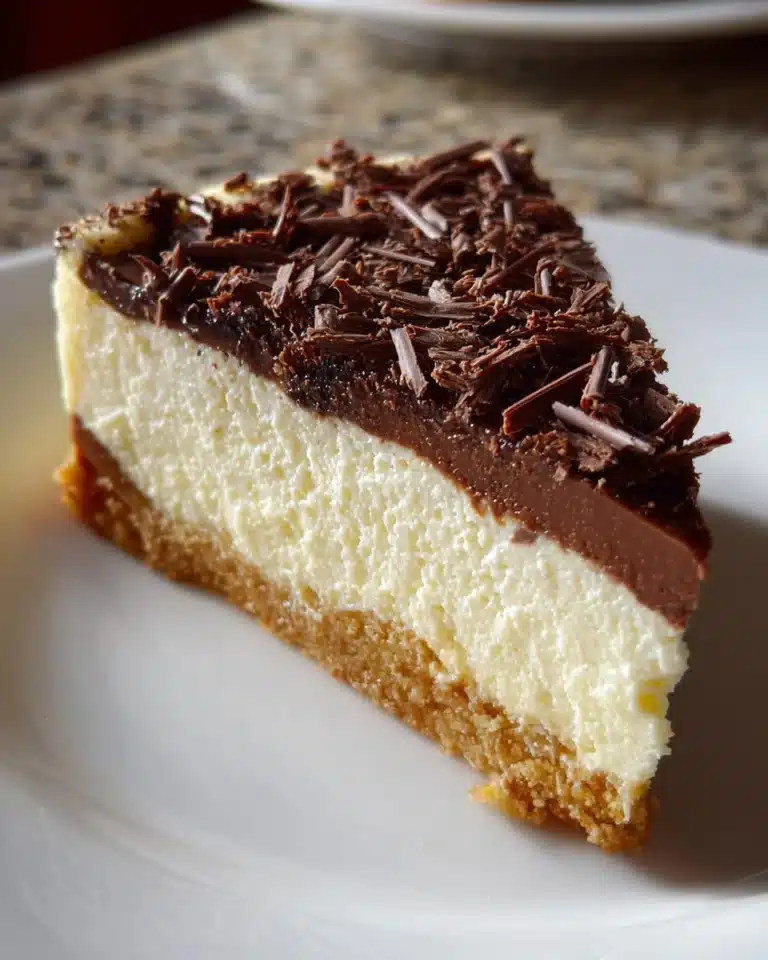
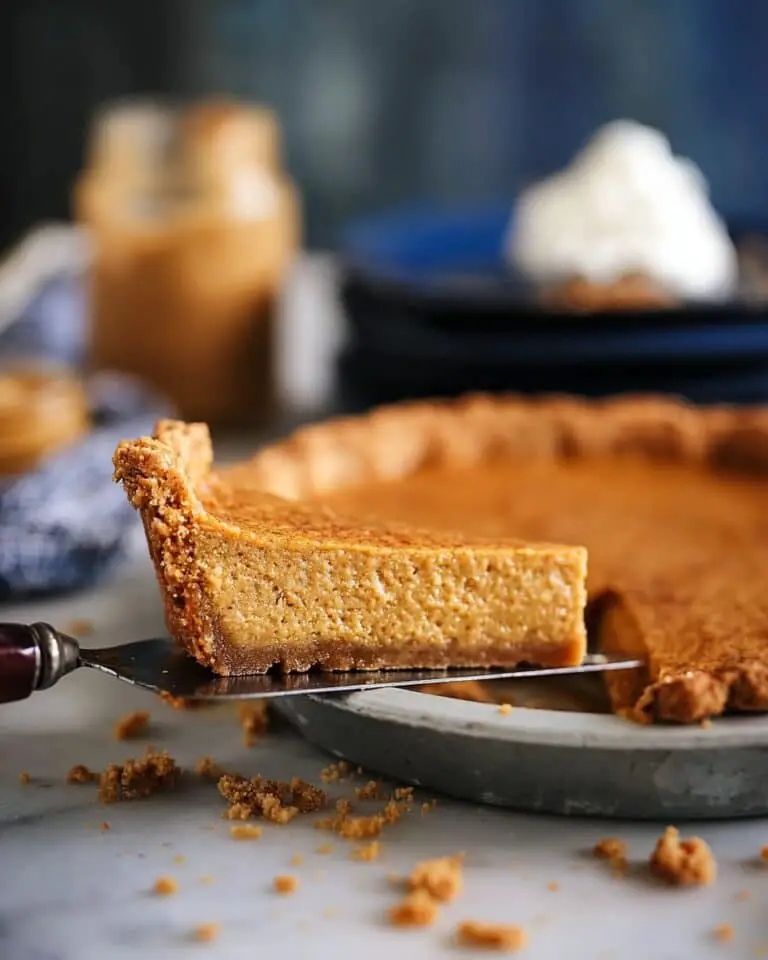
If you have a sweet tooth and love the perfect combo of peanut butter and chocolate, then the Costco Peanut Butter Chocolate Cream Pie Recipe is an absolute game changer. This pie brings together a rich, creamy peanut butter layer and a luscious chocolate cream filling all nestled in a delightfully crunchy graham cracker crust. It’s like a party in your mouth with just the right balance of smoothness and indulgence that will quickly become your favorite dessert to share with family and friends.
Ingredients You’ll Need
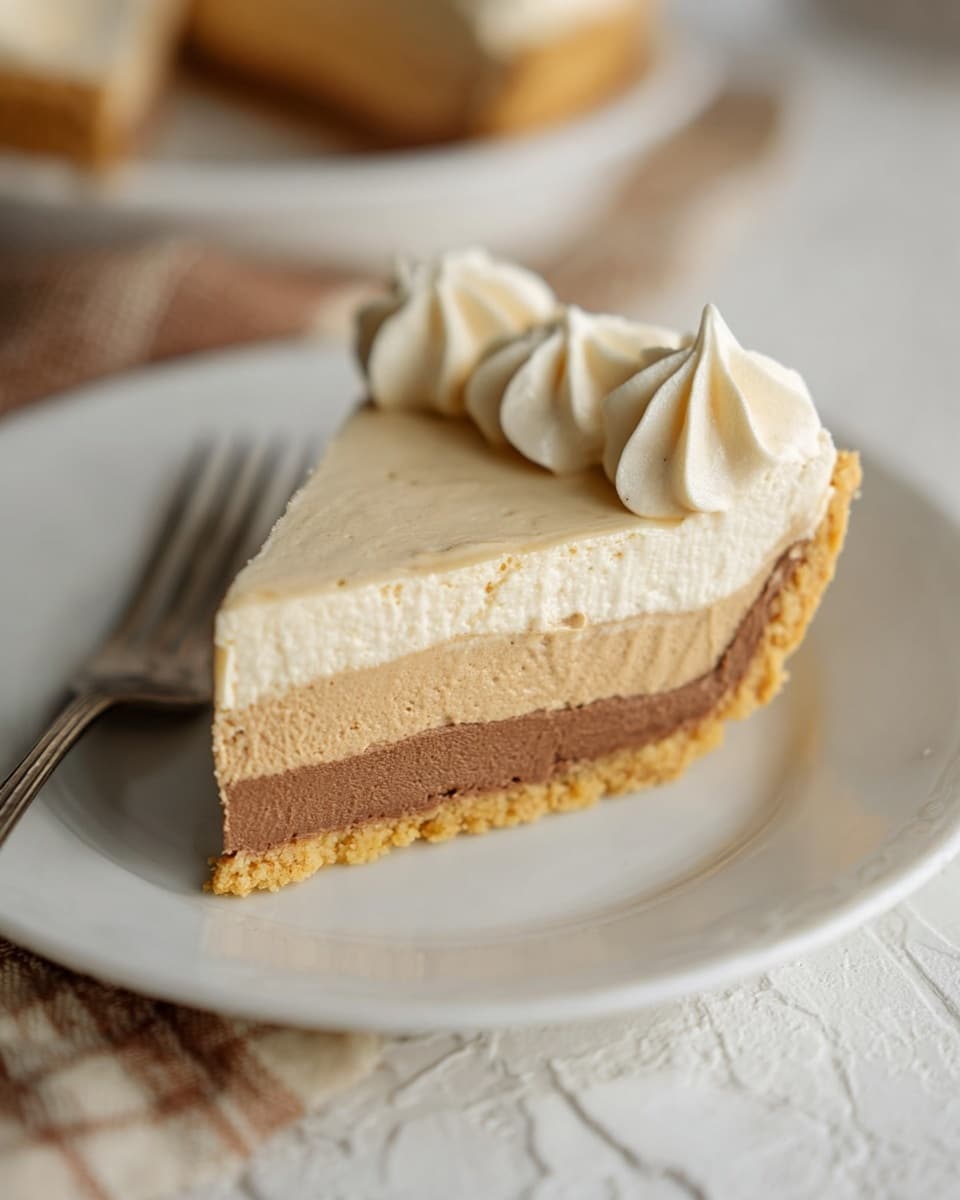
The magic of the Costco Peanut Butter Chocolate Cream Pie Recipe is in its simple, yet crucial ingredients. Each one plays an essential role from creating the creamy texture to delivering that irresistible flavor combo that you’ll adore.
- 9-inch prepared graham cracker crust: Provides a crunchy, slightly sweet base that holds all the creamy layers together perfectly.
- 3/4 cup milk chocolate chips: For a luscious, smooth chocolate filling that melts in your mouth.
- 1/4 cup heavy cream: Adds richness and helps melt the chocolate into a dreamy ganache.
- 1 1/2 cups powdered sugar, divided: Sweetens both the peanut butter and chocolate layers just right.
- 1 1/2 (8-ounce) blocks cream cheese, softened, divided: The creamy base for both fillings adds body and tang.
- 1 cup peanut butter: The star of the show that brings that familiar nutty, salty flavor to the pie.
- 1 (12-ounce) container frozen whipped topping, thawed, divided: Makes the pie fluffy and light while blending the cream cheese and flavorings.
How to Make Costco Peanut Butter Chocolate Cream Pie Recipe
Step 1: Prepare the Chocolate Ganache
Start by placing your milk chocolate chips into a small bowl. Heat the heavy cream in the microwave until steaming, about 30 seconds, and pour it over the chocolate chips. Let them sit a moment to melt, then stir until smooth — this silky ganache will be the heart of the chocolate cream layer.
Step 2: Make the Peanut Butter Cream Filling
In a large bowl, beat one block of softened cream cheese until smooth and creamy. Add the peanut butter and 1 cup of powdered sugar, mixing well to combine the flavors. Gently fold in half of the whipped topping to keep this layer light and fluffy, then set this delicious peanut butter cream aside for assembly.
Step 3: Craft the Chocolate Cream Filling
Use the other half of the cream cheese block in a clean bowl and beat it until smooth. Stir your melted chocolate ganache again to make sure it’s silky, then add it to the cream cheese. Mix in the remaining 1/2 cup powdered sugar until fully incorporated. Fold in the rest of the whipped topping, giving this chocolate cream a light, airy texture just like the peanut butter filling.
Step 4: Assemble Your Costco Peanut Butter Chocolate Cream Pie Recipe
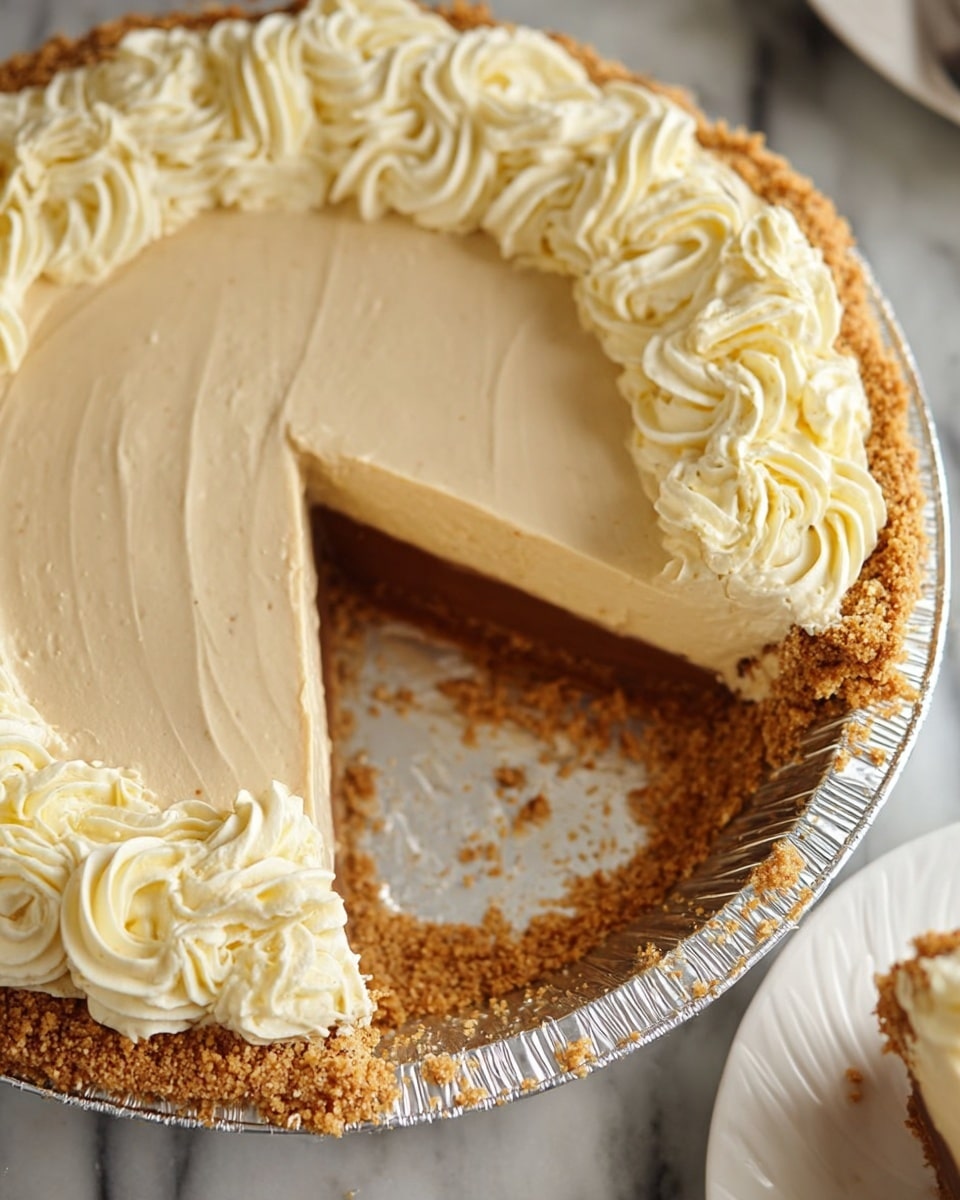
Begin by spreading half of the peanut butter mixture into the bottom of the graham cracker crust, creating a perfectly even layer. Next, lovingly spread the entire chocolate cream filling evenly over the peanut butter base. Finish by piping the remaining peanut butter mixture on top, using a large star tip to create beautiful, decorative dollops around the edge. Pop the pie into the refrigerator for at least four hours to let everything set and the flavors meld beautifully before serving.
How to Serve Costco Peanut Butter Chocolate Cream Pie Recipe
Garnishes
While this pie is stunning on its own, a sprinkle of crushed peanuts or a drizzle of melted chocolate can add a satisfying crunch and extra flair. Fresh whipped cream or a few chocolate shavings on top can also elevate your presentation and delight your guests.
Side Dishes
This pie pairs wonderfully with a scoop of vanilla ice cream or a simple fresh berry salad. The freshness of berries balances the richness of the pie and keeps the dessert plate light and refreshing.
Creative Ways to Present
For special occasions, serve individual slices in clear glass dessert bowls layered with chopped peanuts or chocolate chips for added texture. Or, pair the pie with a hot cup of coffee or espresso to bring out the nutty and chocolate flavors even more vibrantly.
Make Ahead and Storage
Storing Leftovers
Cover the pie tightly with plastic wrap or store in an airtight container and refrigerate to keep it fresh for up to five days. This pie holds its texture and flavor beautifully with proper storage.
Freezing
You can freeze the pie for longer storage by wrapping it well in plastic wrap and then foil. Freeze for up to two months. When ready to serve, thaw it overnight in the fridge to maintain its creamy texture without any watery separation.
Reheating
This pie is best served chilled, so reheating isn’t necessary. If you prefer it slightly softer, letting it sit at room temperature for 15-20 minutes before serving is perfect.
FAQs
Can I use crunchy peanut butter instead of smooth?
Absolutely! Crunchy peanut butter will add some delightful texture to the filling, making each bite even more interesting and nutty. Just be sure to fold gently to keep the pie light.
Is there a substitute for the frozen whipped topping?
You can substitute with freshly whipped heavy cream sweetened with a little powdered sugar. It will keep the light texture but add a fresher taste if you prefer homemade ingredients.
Can I make the pie gluten-free?
Yes, by using a gluten-free graham cracker crust or an alternative cookie crust that fits your diet, you can enjoy this pie gluten-free without missing any of the flavor.
How early can I prepare this pie?
This pie can be assembled a day in advance and refrigerated until you’re ready to serve, making it perfect for parties or busy weekends.
Can I halve the recipe for a smaller pie?
Definitely! Just scale down the ingredients proportionally and use a smaller pie crust for a half-size version that’s perfect for smaller gatherings or just a personal treat.
Final Thoughts
There’s something magical about the Costco Peanut Butter Chocolate Cream Pie Recipe that feels both indulgent and approachable. Whether you’re sharing it with loved ones or savoring it yourself, this pie delivers a perfect harmony of peanut butter and chocolate that you’ll want to make again and again. Give it a try and watch it disappear faster than you expect!
PrintCostco Peanut Butter Chocolate Cream Pie Recipe
This Costco Peanut Butter Chocolate Cream Pie is a decadent no-bake dessert featuring layers of creamy peanut butter and rich chocolate filling in a graham cracker crust. Perfectly balanced with sweet powdered sugar and light whipped topping, it’s an indulgent treat that requires minimal prep and no oven time.
- Prep Time: 25 minutes
- Cook Time: 0 minutes
- Total Time: 4 hours 25 minutes (includes chilling)
- Yield: 8 servings
- Category: Dessert
- Method: No-Cook
- Cuisine: American
Ingredients
Crust
- 1 (9-inch) prepared graham cracker crust
Chocolate Filling
- 3/4 cup milk chocolate chips
- 1/4 cup heavy cream
- 3/4 cup powdered sugar (divided from 1 1/2 cups)
- 1/2 (8-ounce) block cream cheese, softened
- 1/2 container (6-ounce) frozen whipped topping, thawed
Peanut Butter Filling
- 1 1/2 (8-ounce) blocks cream cheese, softened (1 block for peanut butter filling, 1/2 block for chocolate filling)
- 1 cup peanut butter
- 3/4 cup powdered sugar (divided from 1 1/2 cups)
- 1/2 container (6-ounce) frozen whipped topping, thawed
Instructions
- Melt Chocolate: Place the milk chocolate chips in a small bowl. Heat the heavy cream in the microwave for about 30 seconds or until steaming. Pour the hot cream over the chocolate chips and let them melt completely. Stir until smooth and set aside.
- Make Peanut Butter Filling: In a large bowl, beat one 8-ounce block of softened cream cheese with a mixer until smooth. Add 1 cup of peanut butter and 1 cup of powdered sugar. Mix well until fully combined. Gently fold in half of the thawed whipped topping (about 6 ounces) until the mixture is light and fluffy. Set aside.
- Make Chocolate Filling: In another large bowl, beat the remaining half block (4 ounces) of softened cream cheese until smooth. Add the melted chocolate mixture to the cream cheese and mix until fully combined. Stir in the remaining 1/2 cup powdered sugar. Fold in the remaining whipped topping until well blended and creamy. Set aside.
- Assemble the Pie: Spread half of the peanut butter filling evenly over the bottom of the prepared graham cracker crust. Carefully spread the chocolate filling evenly over the peanut butter layer. Transfer the remaining peanut butter filling into a piping bag fitted with a large star tip (1M open star tip recommended). Pipe decorative swirls along the top edge of the pie.
- Chill and Serve: Refrigerate the assembled pie for at least 4 hours to allow it to set properly. Serve chilled. Store any leftovers covered in the fridge for up to 5 days.
Notes
- Make sure the cream cheese is softened to room temperature for easy mixing and a smooth texture.
- The whipped topping should be thawed completely before folding into the mixtures.
- Use a large star piping tip to create an attractive whipped peanut butter border on top.
- This pie is best served chilled and can be made up to a day in advance.
- Store leftovers covered tightly in the refrigerator for up to 5 days.

