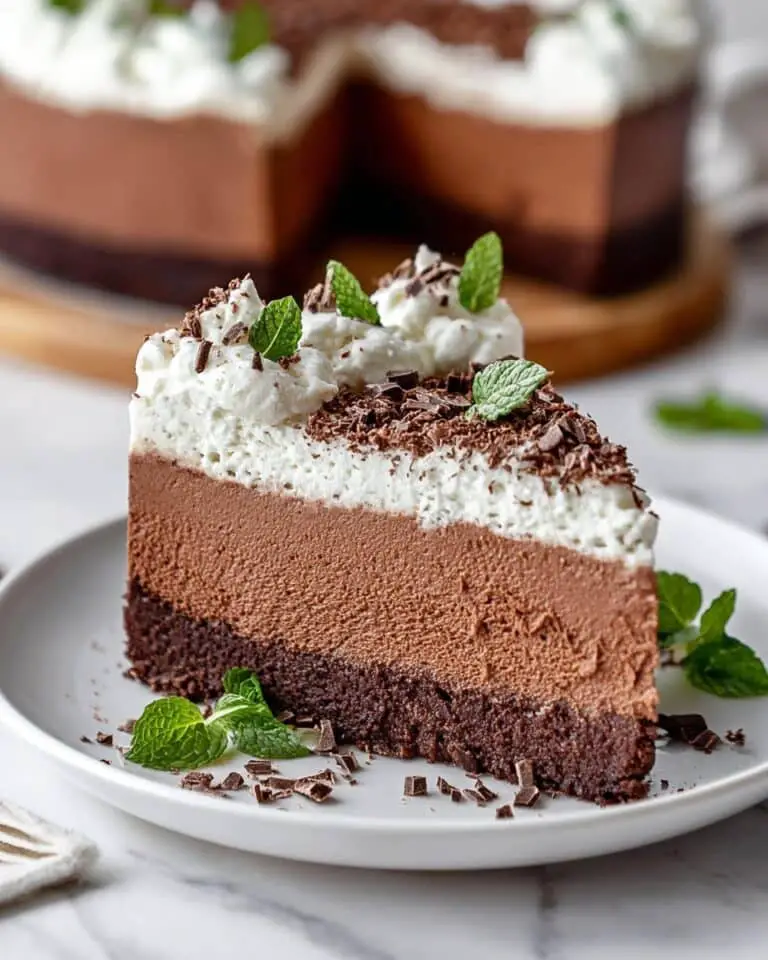
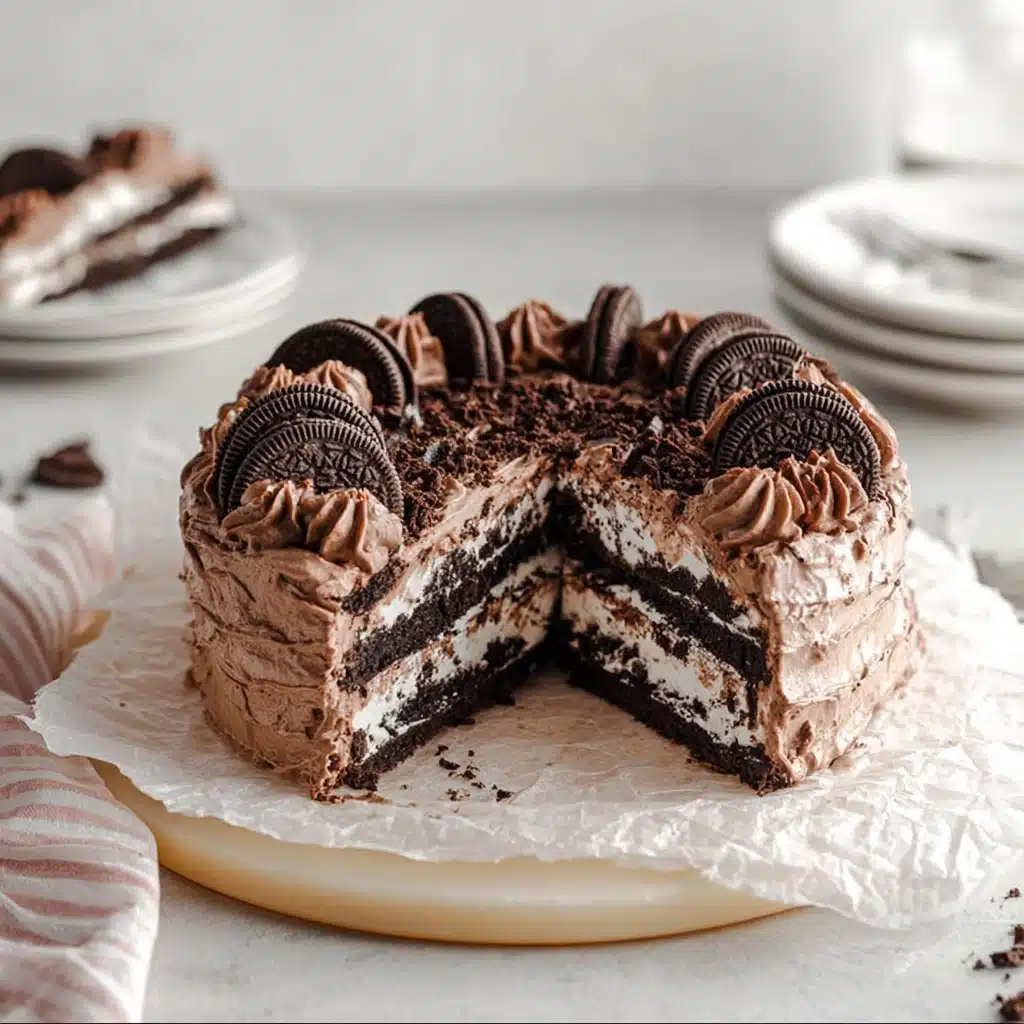
Get ready to fall in love with the ultimate no-bake treat: the Chocolate Oreo Ice Box Cake. If you’re searching for a crowd-pleasing dessert that’s blissfully simple but loaded with rich chocolate, sweet cream, and that classic Oreo crunch, look no further. This cake layers chocolate whipped cream and Oreos into dreamy, creamy perfection. All you need is a bit of assembling and a little patience as it chills in the fridge to become your new favorite make-ahead dessert!
Ingredients You’ll Need
The magic of the Chocolate Oreo Ice Box Cake is its simplicity—just a handful of ingredients create something unforgettable. Each one pulls its own weight, adding texture, richness, or that unforgettable nostalgic flavor.
- Heavy whipping cream: This forms the luscious, cloud-like backbone of your chocolate whipped cream, so make sure it’s super cold for the best lift.
- Powdered sugar: Adds a delicate sweetness and helps stabilize the whipped cream layers so they hold their shape beautifully.
- Unsweetened cocoa powder: Deepens the chocolate flavor without making the cake overly sweet, offering a rich, sophisticated edge.
- Vanilla extract: Just a splash brings all the chocolatey goodness to life and adds warmth to the cream.
- Oreo cookies: The star of the show—Oreo Thins give you more layers and that perfect creamy crunch in every bite.
How to Make Chocolate Oreo Ice Box Cake
Step 1: Prep Your Pan
Line the bottom and sides of your springform pan with parchment paper. This will make releasing your Chocolate Oreo Ice Box Cake so much easier (and keeps all those beautiful layers intact). It’s a small step that rewards you later when you’re ready to slice and serve.
Step 2: Make the Chocolate Whipped Cream
Pour your cold heavy cream, powdered sugar, cocoa powder, and vanilla extract into your mixer bowl. Using the whisk attachment, beat everything together on medium-high until those glorious stiff peaks form. Don’t stop early—cream that’s just at stiff peaks will hold your layers together, giving the cake its signature fluffy but sliceable quality.
Step 3: Build the Layers
Start with a layer of Oreos covering the bottom of your pan—don’t worry if you need to break a few for a better fit! Spread a generous layer of chocolate whipped cream over the cookies. Repeat the process, layering Oreos and whipped cream until you run out, finishing with a dreamy crown of whipped cream. Three to four cookie layers is a sweet spot, but you can get creative with it!
Step 4: Chill Overnight
Cover your masterpiece and slide it into the fridge for at least 12 hours. This crucial step allows the Oreos to soften into a cake-like texture and lets all the flavors meld into one glorious bite. If you have any leftover chocolate whipped cream, stash it in an airtight container in the fridge for the final frosting.
Step 5: Unmold and Decorate
When you’re ready to serve, release the cake from the springform pan. Frost the tops and sides with any remaining whipped cream, then sprinkle with extra Oreo crumbs for an irresistible finish. Now, slice in and marvel at those gorgeous layers!
How to Serve Chocolate Oreo Ice Box Cake
Garnishes
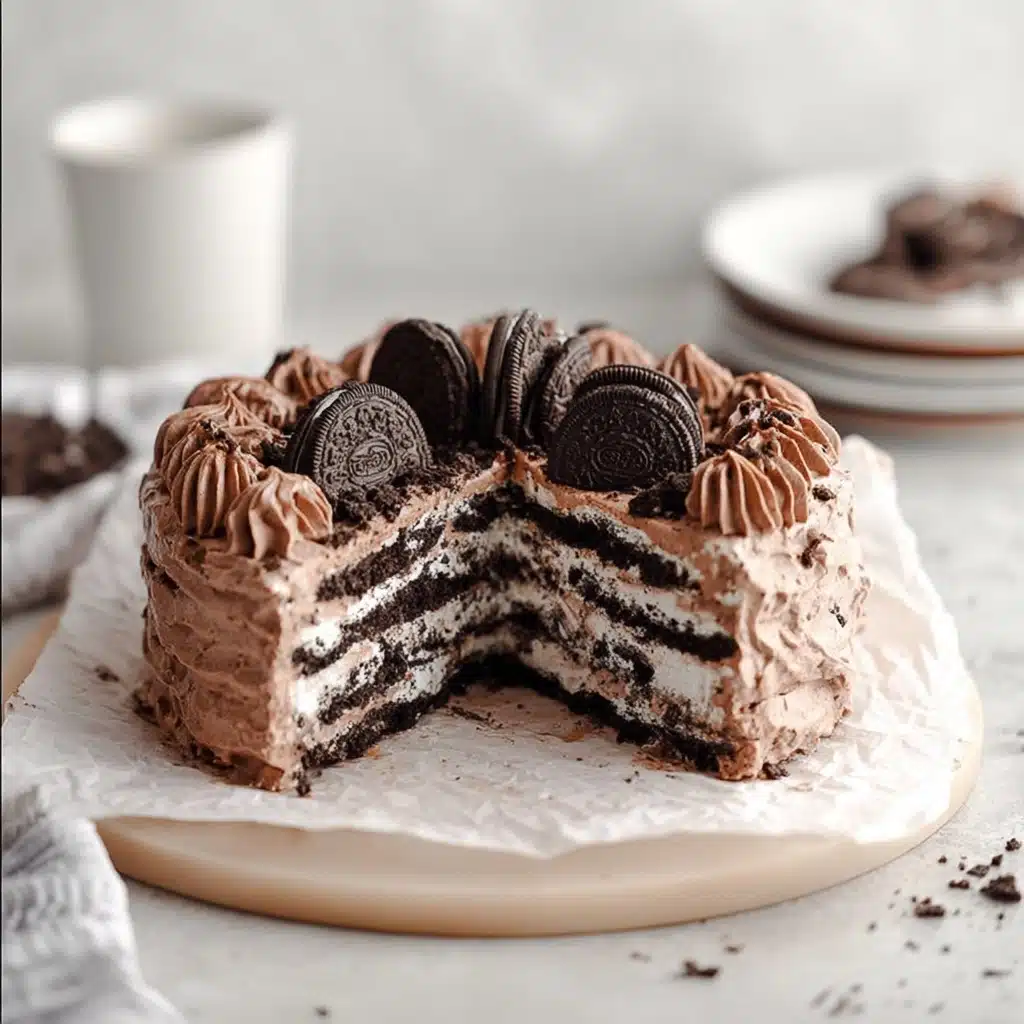
For that wow-factor, top your Chocolate Oreo Ice Box Cake with a generous sprinkle of crushed Oreos, a drizzle of chocolate syrup, or even a handful of mini chocolate chips. If you want to go ultra-decadent, a swirl of extra whipped cream or a few fresh berries make fabulous finishing touches.
Side Dishes
While the cake easily steals the show, it pairs beautifully with a scoop of vanilla ice cream, a tall glass of ice-cold milk, or even a steaming mug of coffee. If you’re serving at a party, consider a platter of fresh berries for a pop of color and tang to cut through the richness.
Creative Ways to Present
Don’t be afraid to get creative! Try stacking individual servings in mason jars for a delightful, picnic-ready treat, or layer everything in a trifle bowl for a dramatic centerpiece. Mini versions made in muffin tins are perfect for parties or potlucks—just layer and chill as usual.
Make Ahead and Storage
Storing Leftovers
The Chocolate Oreo Ice Box Cake keeps wonderfully in the refrigerator for up to four days. Simply cover the pan tightly with plastic wrap or transfer slices to an airtight container. The cake actually gets even better after a day or two as the flavors continue to meld and the Oreos soften.
Freezing
Need to make it even further ahead? You can freeze the cake! Wrap the assembled (but unfrosted) cake tightly in plastic wrap and a layer of foil. Thaw overnight in the fridge, then add your final whipped cream and cookie garnish just before serving for the freshest taste.
Reheating
No reheating required—one of the beautiful perks of this recipe! In fact, the Chocolate Oreo Ice Box Cake is best served straight from the fridge, so it keeps its cool, creamy charm. If frozen, just allow it to thaw in the refrigerator before slicing.
FAQs
Can I use regular Oreos instead of Oreo Thins?
Absolutely! Regular Oreos work beautifully. The only difference is slightly thicker layers and perhaps a bit more structure to the cake. Feel free to choose whichever style you love most.
How far in advance can I make Chocolate Oreo Ice Box Cake?
It’s ideal to make the cake the day before you plan to serve, but it will keep well for up to four days in the fridge. In fact, the flavor intensifies as it sits, so it’s a perfect make-ahead option!
Can I use store-bought whipped topping instead of homemade?
Yes, you can substitute whipped topping in a pinch, though homemade chocolate whipped cream gives the richest flavor and fluffiest texture. If you do use a store-bought version, choose one that’s stabilized for the best results.
What if I don’t have a springform pan?
No worries! A standard 8 or 9-inch square baking dish works just fine. It just may be a bit trickier to serve beautiful slices, but the flavor will be every bit as delicious.
Can I add anything extra to the Chocolate Oreo Ice Box Cake?
Definitely! Mini chocolate chips, a layer of peanut butter, or even a handful of fresh raspberries between layers can make the cake your own. Mix-ins are a wonderful way to customize this dessert to your tastes.
Final Thoughts
If you’re looking for a foolproof, irresistible dessert, the Chocolate Oreo Ice Box Cake deserves a spot in your recipe rotation. It’s decadent yet effortless, nostalgic but impressive, and honestly—just plain fun to make! Give it a try, and watch it vanish at your next gathering.
PrintChocolate Oreo Ice Box Cake Recipe
Indulge in this decadent Chocolate Oreo Ice Box Cake, a no-bake dessert that’s perfect for satisfying your sweet cravings. Layers of chocolate whipped cream and Oreo cookies create a luscious treat that’s easy to make and even easier to enjoy.
- Prep Time: 8 minutes
- Total Time: 12 hours 8 minutes
- Category: Dessert
- Method: No-Bake
- Cuisine: American
- Diet: Vegetarian
Ingredients
For the Chocolate Whipped Cream:
- 3 cups (720 grams) heavy whipping cream, cold
- 6 tablespoons (45 grams) powdered sugar
- 6 tablespoons (30 grams) regular unsweetened cocoa powder
- 1 1/2 teaspoons vanilla extract
For Assembly:
- 1 package Oreos, I used Oreo Thins
Instructions
- Prepare the Pan: Line an 8 or 9-inch springform pan with parchment paper. Set aside.
- Make the Chocolate Whipped Cream: In a mixing bowl, combine heavy cream, powdered sugar, cocoa powder, and vanilla extract. Beat until stiff peaks form.
- Layer the Cake: Line the pan with Oreos, then spread a layer of chocolate whipped cream. Continue alternating layers of Oreos and whipped cream, finishing with whipped cream on top.
- Chill: Cover the cake and refrigerate overnight or for at least 12 hours.
- Finish and Serve: Release the cake from the pan, frost with any reserved whipped cream, and garnish with additional Oreos. Slice and store leftovers in the fridge.
Nutrition
- Serving Size: 1 slice
- Calories: 320
- Sugar: 15g
- Sodium: 120mg
- Fat: 22g
- Saturated Fat: 13g
- Unsaturated Fat: 7g
- Trans Fat: 0g
- Carbohydrates: 29g
- Fiber: 2g
- Protein: 3g
- Cholesterol: 65mg

