If you’ve ever dreamed of baking your own fresh, aromatic loaf but don’t have hours to babysit an oven or the fancy gear, this Air Fryer Bread Recipe is your new best friend. It’s surprisingly simple, requires minimal hands-on time, and yields a crusty, fluffy bread that’s just as delightful as any bakery find. Using the magic of the air fryer, you get perfectly baked bread that’s golden on the outside and tender on the inside, all with less fuss and a faster timeline than traditional methods. Trust me, once you make this recipe, your air fryer will become your go-to tool for baking bread that feels homemade and tastes incredible.
Ingredients You’ll Need
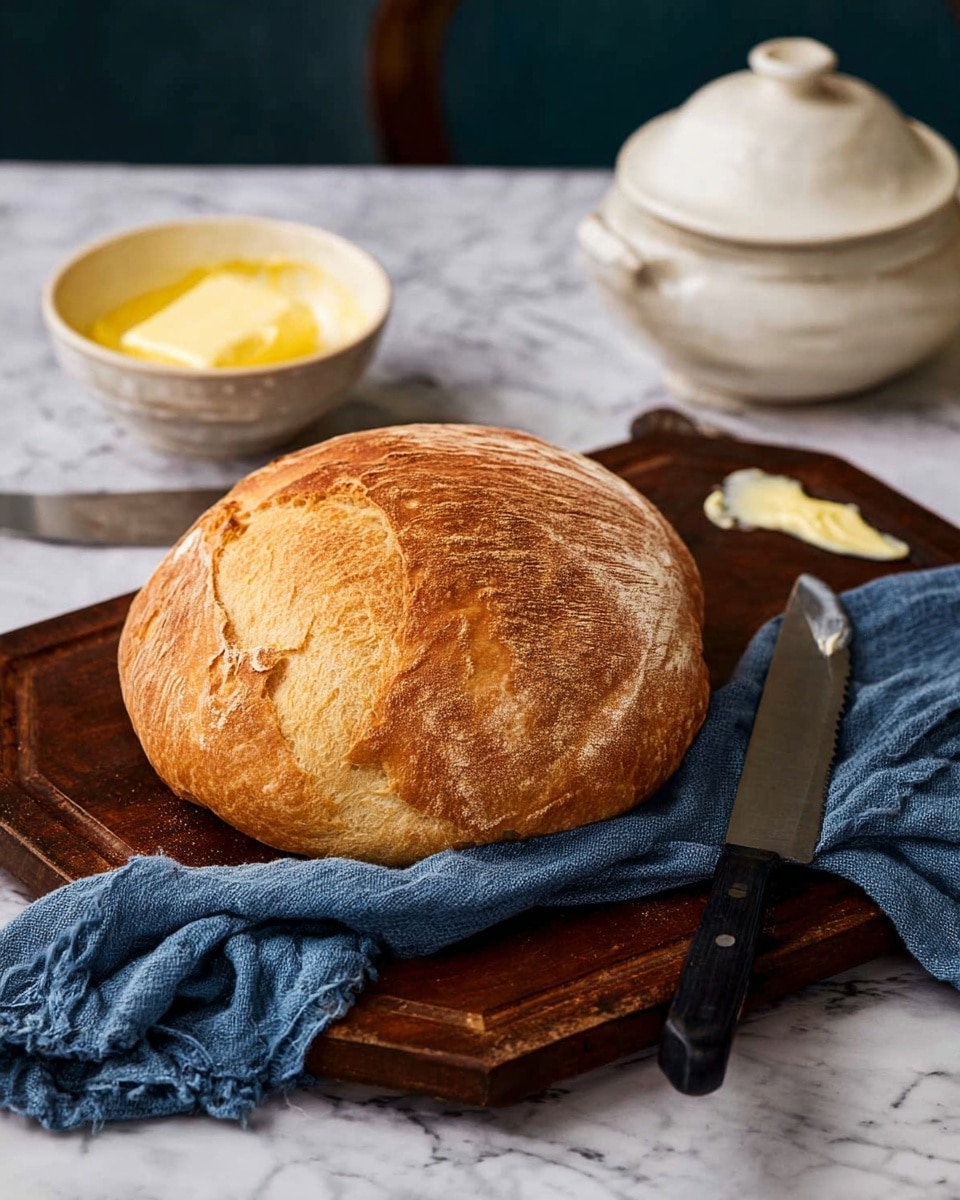
The beauty of this Air Fryer Bread Recipe lies in its simplicity. Each ingredient plays a key role: the flour forms the structure, yeast gives that beautiful rise and texture, sugar feeds the yeast to activate it perfectly, salt balances flavors, and butter adds tenderness and richness.
- White bread flour (3 cups / 360g): Provides a strong gluten base for that chewy, airy crumb.
- Sugar (1 tbsp): Helps feed the yeast and encourages a lovely crust color.
- Salt (2 tsp): Enhances all the flavors and controls yeast fermentation.
- Rapid rise yeast (2 ¼ tsp): The secret to a quick and effective rise for your dough.
- Lukewarm water (1 cup / 240ml): Activates the yeast without killing it, ensuring proper fermentation.
- Melted butter (2 tbsp plus extra for greasing): Adds richness and helps create a soft crust.
How to Make Air Fryer Bread Recipe
Step 1: Mix the Dry Ingredients
Start by measuring your flour, sugar, salt, and yeast into a mixing bowl. Give everything a good stir to evenly distribute the yeast with the other dry components. This step ensures that your dough has consistent flavor and rise from start to finish.
Step 2: Add Wet Ingredients and Combine
Next, pour in the lukewarm water and melted butter. Use a spoon or dough hook attachment to mix everything until there are no more dry streaks of flour. You’ll end up with a shaggy, sticky dough – that’s exactly how it should look, so don’t worry!
Step 3: Optional Stretch and Fold
If you have a bit of time and want to strengthen your dough’s gluten, lightly oil your hands and do a couple of “stretch and folds.” This involves gently pulling a corner of the dough from underneath and folding it toward the middle, then repeating this motion as you turn the bowl. It helps develop the bread’s texture beautifully.
Step 4: First Rise
Cover the dough with a clean towel and set it somewhere warm to rise for about an hour. You’ll notice it puff up and become softer, which signals the yeast at work and the journey to that perfect loaf.
Step 5: Shape the Dough
Once risen, gently tip the dough onto a lightly floured surface. Stretch it out into a rectangle and fold the top down towards the center, then fold the bottom over that, like folding a letter. Turn sideways and roll it into a tight log, shaping it into a round boule by tucking and pinching the edges as you go, dusting with flour to prevent sticking.
Step 6: Second Rise
Place your dough ball into a greased 7-inch cake pan, cover again, and let it rise for another 30 minutes. This final rest is essential for an airy crumb and crusty exterior.
Step 7: Preheat and Prepare
Preheat your air fryer to 400°F (200°C) for 5 minutes to get it ready. Score the top of your loaf lightly with a knife – this allows controlled expansion while baking – then brush the sides with melted butter to prevent it from sticking to the pan.
Step 8: Air Fry Your Bread
Place the pan carefully in the air fryer basket and cook at 400°F (200°C) for 15 minutes. Then, reduce the heat to 350°F (180°C) and continue cooking for an additional 25 minutes. This two-step temperature method ensures a golden crust and fully baked crumb.
Step 9: Finish Baking for Perfect Bottom Crust
Remove the bread from the pan with care and return it directly to the air fryer basket for 5 more minutes or until the bottom sounds hollow when tapped. This step avoids a doughy bottom and rounds out your loaf with that perfect crunchy texture.
Step 10: Cool Before Slicing
Let the bread cool on a wire rack before slicing to ensure the crumb sets perfectly inside. Hot bread can be tempting to slice immediately, but patience truly pays off here.
How to Serve Air Fryer Bread Recipe
Garnishes
A simple sprinkle of sea salt flakes, a brushing of extra melted butter, or a light dusting of herbs like rosemary or thyme can elevate your loaf beautifully. These subtle touches add aroma and a delightful visual appeal for your bread presentation.
Side Dishes
This Air Fryer Bread Recipe pairs wonderfully with soups, stews, and hearty breakfasts. Think creamy tomato soup, fresh avocado smash, or even a classic ham and cheese for sandwiches. Its neutral flavor and perfect texture make it a remarkably versatile dinner or snack companion.
Creative Ways to Present
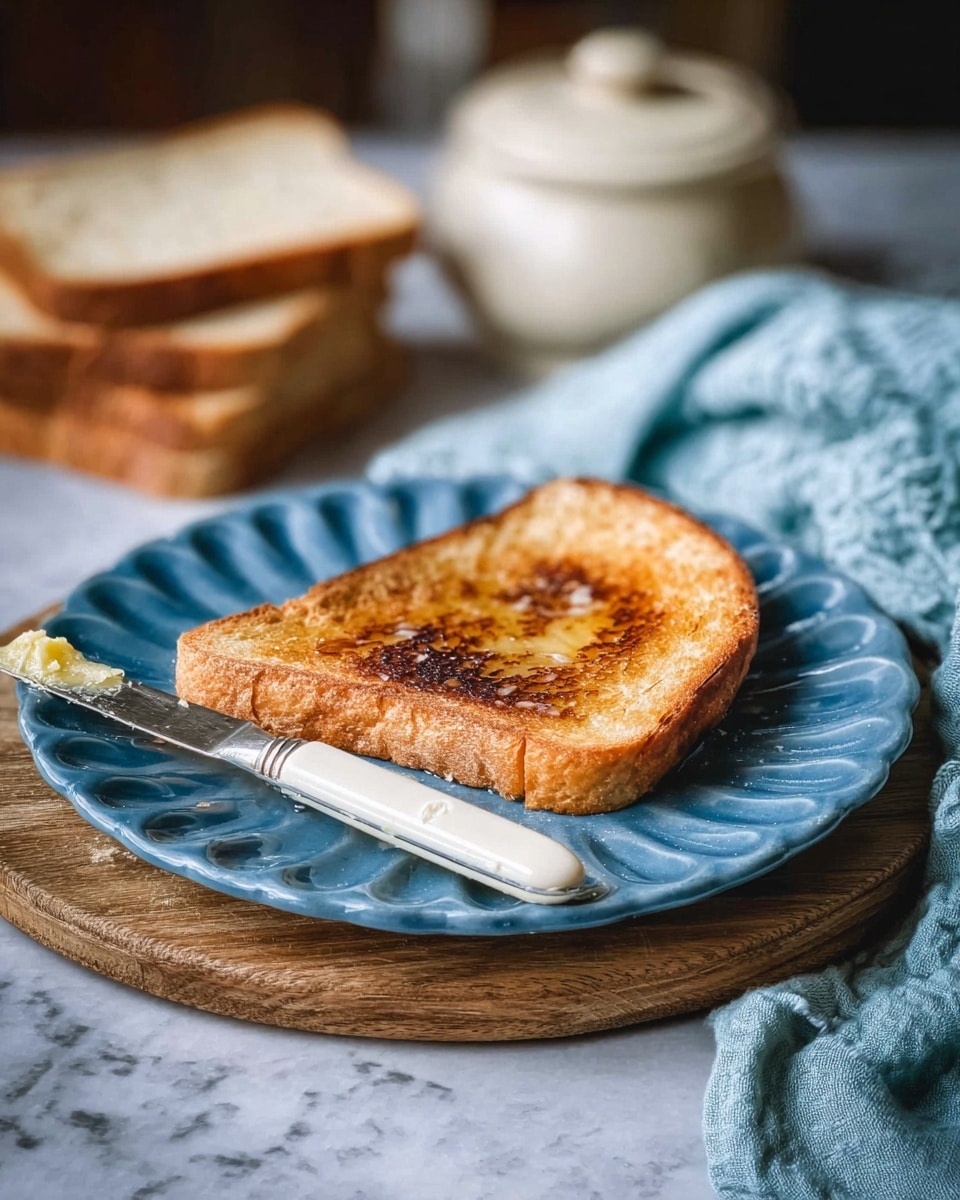
For a fun twist, slice your bread and toast lightly, then top with whipped feta, smoked salmon, or a drizzle of honey and figs. You can also create mini crostini by toasting thick slices and offering an assortment of dips, perfect for gatherings or a cozy night in.
Make Ahead and Storage
Storing Leftovers
If you have leftover bread, keep it fresh by slicing it and storing in a bread bag or wrapping it in a linen towel at room temperature for up to three days. This keeps the crust crisp and the center soft without drying out too quickly.
Freezing
For longer storage, slice the bread and freeze it in an airtight bag. This way, you can conveniently toast slices directly from the freezer whenever you want fresh bread without extra effort or waste.
Reheating
To bring your bread back to life, toast frozen slices or reheat whole loaves in the air fryer at 320°F (160°C) for around 5 minutes. This method revives the crispy crust and warms the bread gently, just like fresh out of the oven.
FAQs
Can I use all-purpose flour instead of bread flour for this Air Fryer Bread Recipe?
Yes, you can substitute all-purpose flour, though bread flour gives better gluten development for a chewier texture. If using all-purpose, 3 cups equals about 385 grams; expect a slightly softer crumb.
How can I tell when the bread is fully baked?
Tap the bottom of your loaf; a hollow sound is a sure sign it’s ready. You can also use an instant-read thermometer—aim for an internal temperature of about 200°F (over 95°C) for perfectly baked bread.
Why is my bread bottom doughy, and how can that be fixed?
Air fryer bread sometimes has a soggy bottom because heat doesn’t circulate the same way as an oven. Removing the bread from the pan near the end and air frying a few extra minutes directly in the basket solves this by crisping up the base.
Is it necessary to do the “stretch and fold” step?
No, it’s optional! The dough will still rise and bake just fine without kneading. However, if you have extra time, stretch and folds help strengthen the gluten network, improving texture and structure.
Can I add herbs or seeds to this Air Fryer Bread Recipe?
Absolutely! Mix herbs like rosemary, thyme, or seeds such as sunflower or sesame into the dough before the first rise for flavorful variations that personalize your loaf.
Final Thoughts
This Air Fryer Bread Recipe is a total game-changer for anyone wanting fresh homemade bread without the hassle of a traditional oven bake. It’s approachable, delicious, and flexible enough to become your weekday favorite or a weekend baking project. Give it a try and enjoy that wonderful smell of bread baking warming your kitchen — it’s the kind of joy worth sharing with everyone at your table!
PrintAir Fryer Bread Recipe
This easy and delicious Air Fryer Bread recipe yields a soft, fluffy loaf with a golden crust, perfect for sandwiches or toast. Using a rapid rise yeast and a simple mix-and-rise method, this bread is quickly prepared and air fried to perfection for a convenient homemade loaf without an oven.
- Prep Time: 10 minutes
- Cook Time: 40 minutes
- Total Time: 4 hours 5 minutes
- Yield: 14 slices
- Category: Bread
- Method: Air Frying
- Cuisine: Continental
Ingredients
Dry Ingredients
- 3 cups (360g) white bread flour (or 385g all-purpose flour as an alternative)
- 1 tbsp sugar
- 2 tsp salt
- 2 ¼ tsp rapid rise yeast (one packet)
Wet Ingredients
- 1 cup (240ml) lukewarm water
- 2 tbsp melted butter, plus extra for greasing and brushing
Instructions
- Combine Dry Ingredients: Measure the flour, sugar, salt, and yeast into a mixing bowl and stir to combine evenly.
- Add Wet Ingredients: Pour in the lukewarm water and melted butter. Mix thoroughly with a spoon or dough hook until the dough is shaggy and sticky with no dry flour remaining.
- Optional Kneading: If time permits, perform a few stretch and folds on the dough by greasing your hands with oil, stretching one corner underneath to the center, and repeating while rotating the bowl a few times.
- First Rise: Cover the bowl with a clean towel and place it in a warm spot to rise for 1 hour until doubled in size.
- Shape the Dough: Tip the dough onto a lightly floured surface, stretch into a rectangle, fold top to middle, bottom over that, then roll into a boule (round ball shape), dusting with flour as needed.
- Second Rise: Place the shaped dough into a greased 7-inch cake pan, cover, and let rise for 30 minutes.
- Preheat Air Fryer: Set the Instant Vortex Digital Air Fryer to 400°F (200°C) and preheat for 5 minutes.
- Prepare for Baking: Score the top of the dough with a knife and brush the sides with melted butter to prevent sticking.
- Air Fry the Bread: Place the pan in the air fryer and cook at 400°F (200°C) for 15 minutes, then reduce the temperature to 350°F (180°C) and continue cooking for 25 minutes.
- Finish Baking: Remove the bread from the pan using pot holders and place the loaf directly back in the air fryer to bake for an additional 5 minutes to ensure an evenly cooked bottom crust.
- Check Doneness: Tap the bottom of the loaf; it should sound hollow. If still doughy, air fry for a few more minutes as needed.
- Cool: Transfer the bread to a wire rack and allow it to cool completely before slicing.
Notes
- How to Tell if the Bread is Baked: Tap the bottom and listen for a hollow sound. An instant-read thermometer should show an internal temperature of about 200°F (over 95°C).
- Avoid a Soggy Bottom: Reversing the bread or cooking it directly in the air fryer basket for extra minutes helps cook the bottom evenly.
- Storing Your Bread: Slice and freeze for best longevity. Toast slices from frozen as needed, or store in a bread bag or linen towel for up to three days.
- Flour Substitute: You can use all-purpose flour instead of bread flour; use 385g for 3 cups.


