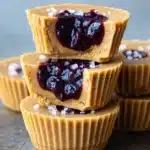
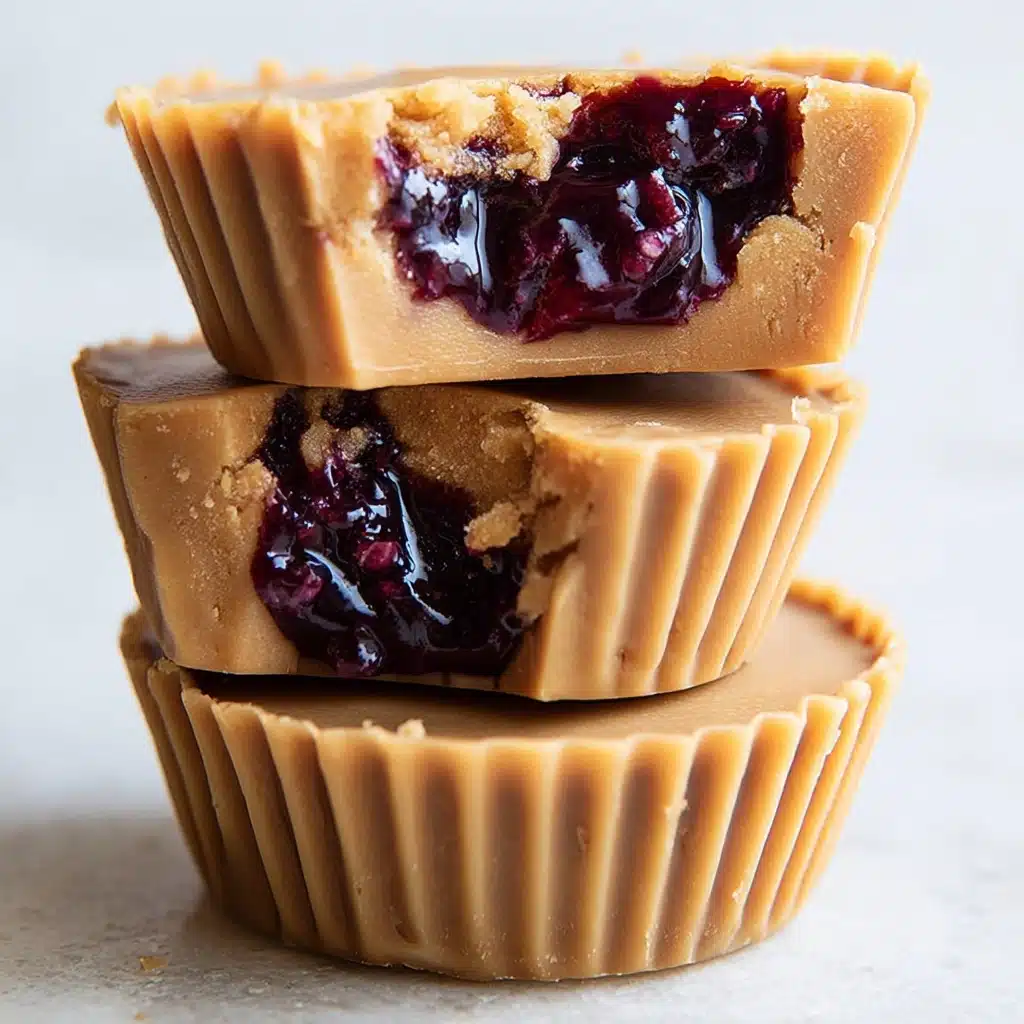
If you’re looking to relive all the joy of a classic sandwich in an irresistibly snackable form, these 3 Ingredient Peanut Butter and Jelly Cups are your new obsession. With only a handful of wholesome ingredients and about 10 minutes of hands-on time, you get a creamy, nutty middle paired with jammy bursts of fruit, all in a cute little cup. Perfect for lunchboxes, picnics, after-school treats or late-night sweet cravings—these PB&J gems deliver all the nostalgia of childhood with so much less mess. Trust me, once you try them, you’ll want to keep a secret stash in the freezer at all times!
Ingredients You’ll Need
What makes these 3 Ingredient Peanut Butter and Jelly Cups so special is how just a few simple ingredients come together in the most magical way. Every element is handpicked for flavor, texture, and a little bit of wholesome goodness.
- Coconut oil, melted: This gives your cups that deliciously smooth, melt-in-your-mouth texture while helping the nut butter set perfectly.
- Unsweetened peanut butter (or almond/cashew butter): This is your creamy, nutty base—use your favorite variety for the flavor you love, just make sure it’s stirred and smooth!
- Fruit-sweetened jam: Choose your favorite flavor—strawberry, raspberry, or even blueberry—for a burst of juicy sweetness in every bite.
- Pinch of salt (optional): A sprinkle of salt can lift all the flavors, especially if your nut butter is unsalted.
- Coarse salt for topping (optional): Just a little bit over the top adds crunch and balances the sweetness for that perfect sweet-and-salty finish.
How to Make 3 Ingredient Peanut Butter and Jelly Cups
Step 1: Prep Your Liners
Line a standard muffin tin with 10 cupcake liners or arrange 10 silicone liners on a tray. This makes popping out your finished 3 Ingredient Peanut Butter and Jelly Cups completely hassle-free and ensures easy, neat portions.
Step 2: Mix Up the Nutty Base
Gently melt the coconut oil in a small pot, then pour it over your peanut butter in a bowl. Whisk the two together until you have a rich and silky-smooth mixture—don’t forget to add a couple pinches of salt if your peanut butter is unsalted. This step is like making velvety peanut butter fudge, and it’s honestly hard not to just eat it by the spoonful right now!
Step 3: Layer the Peanut Butter
Spoon about one tablespoon of that luscious peanut butter mixture into each prepared liner. Pop the tray into the freezer for 10 minutes. You want the base to set just enough so your jam doesn’t sink through, but not freeze solid—a delicate balance that ensures beautiful layers in your 3 Ingredient Peanut Butter and Jelly Cups.
Step 4: Add the Jammy Center
Take your cups out of the freezer and spoon roughly two teaspoons of fruit jam into the middle of each one. Use the back of your spoon to gently flatten and spread the jam, but don’t push all the way to the edges; you want that gooey center to reveal itself in the first bite!
Step 5: Finish with the Peanut Butter Top
Dollop another tablespoon of the peanut butter mixture over each jam layer, making sure to cover the jam completely. This seals in that fruity surprise and gives your cups their classic, peanut butter-rich top. Once you’re done, return the tray to the freezer for at least 30 minutes to harden completely.
Step 6: Add the Final Touch
If you’re sprinkling on some coarse salt, let the cups chill in the freezer for about five minutes first so the tops aren’t too soft. Then lightly sprinkle on the salt—doing this gives your 3 Ingredient Peanut Butter and Jelly Cups a bakery-worthy finish.
How to Serve 3 Ingredient Peanut Butter and Jelly Cups
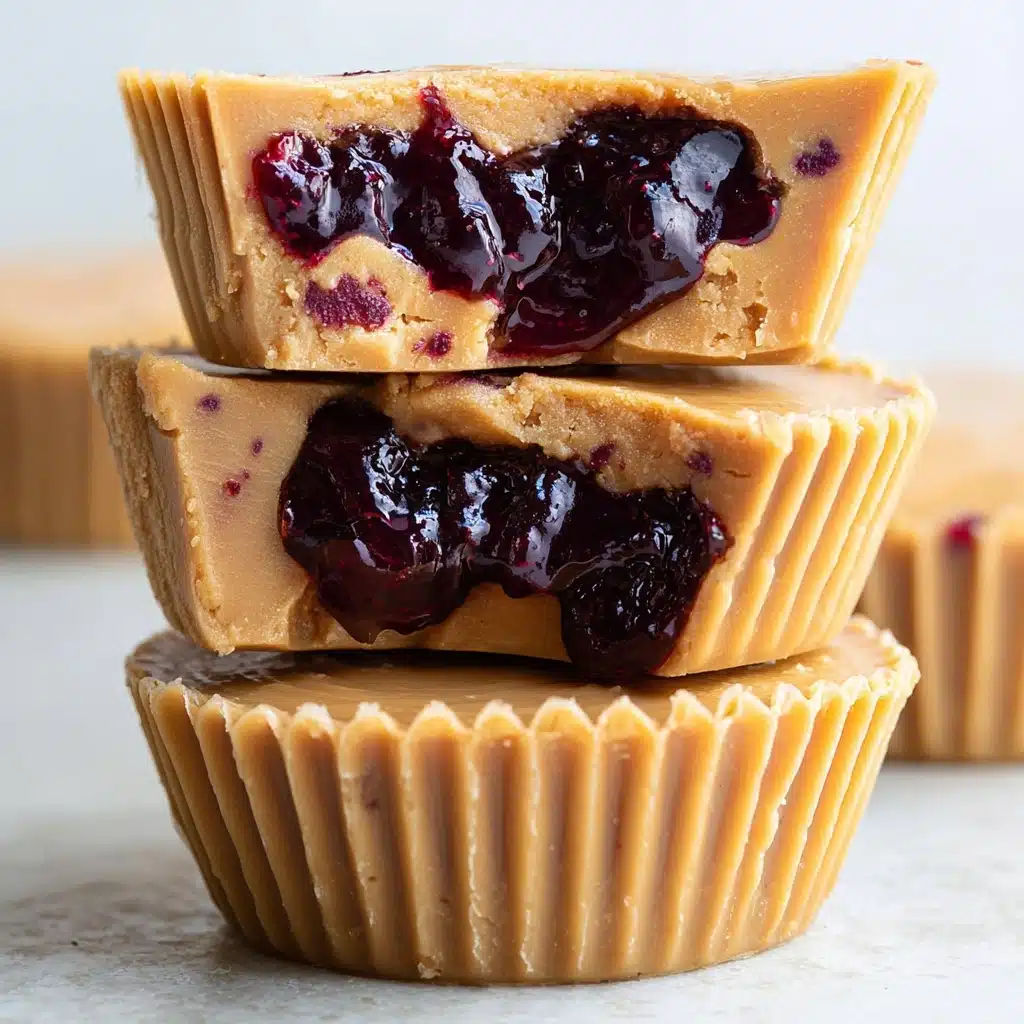
Garnishes
A light sprinkle of coarse sea salt on top right as they finish chilling is all you need—simple yet striking! But if you’re feeling playful, try a few extra chopped peanuts, a drizzle of melted dark chocolate, or even a dusting of freeze-dried berries for even more color and crunch.
Side Dishes
These cups are plenty satisfying on their own, but they also pair beautifully with fresh fruit (like apple or banana slices), a cold glass of non-dairy milk, or served alongside homemade energy bites and trail mix if you’re building a snack board for friends.
Creative Ways to Present
For parties or picnics, pile your 3 Ingredient Peanut Butter and Jelly Cups on a platter and nestle them in colorful paper liners. Make a DIY “PB&J Bar” by serving the cups with different jam flavors and nut butters for guests to pick their favorites—it’s interactive and guaranteed to spark conversation!
Make Ahead and Storage
Storing Leftovers
Pack any leftover 3 Ingredient Peanut Butter and Jelly Cups in an airtight container and stash them in your freezer, where they’ll keep for up to a month. If you prefer a softer, fudgier texture, refrigerate them instead—just remember to eat them within about a week for the best flavor.
Freezing
The freezer is absolutely the best place for these! Each cup stays perfectly firm and chilly, ready for you to grab anytime a sweet craving hits. Just space them out in a single layer until they’re solid, then pile them up—no sticking or mess.
Reheating
No reheating needed! These cups are meant to be eaten cold or at room temperature. If you do freeze them, let a cup sit out for 2 to 3 minutes before eating for the perfect texture. Avoid microwaving; it can make them melty and lose their shape.
FAQs
Can I use a different nut or seed butter?
Absolutely! Almond butter, cashew butter, or even sunflower seed butter are all fantastic alternatives in this recipe. Just make sure your butter is smooth and not too runny for the best cup consistency.
Is there a way to make these with less sugar?
Choose a fruit-sweetened or no-added-sugar jam, and use unsweetened nut butter. You can also skip the jam and use a mashed, ripe banana for natural sweetness if you like!
Are 3 Ingredient Peanut Butter and Jelly Cups gluten free?
Yes, as long as your peanut butter and jam don’t contain any gluten-containing additives, these treats are naturally gluten free—making them a great option for sharing with friends who have allergies!
Can I make these in mini muffin tins?
Definitely! The process is exactly the same, just use mini liners and halve the amounts for each layer. You’ll end up with tiny, poppable bites—perfect for a snack basket or lunchbox treat.
What’s the best way to layer the jam?
Spoon the jam into the slightly set bottom layer, then press gently with the back of your spoon. Don’t rush to cover the jam with the nut butter mixture—pour slowly to get that perfect layer, keeping the edges clean for the prettiest 3 Ingredient Peanut Butter and Jelly Cups.
Final Thoughts
Next time your PB&J craving strikes, skip the bread and whip up a batch of these 3 Ingredient Peanut Butter and Jelly Cups! With so little effort and so much flavor, they’ll have everyone from kids to grownups grinning. Give them a try and don’t be surprised when they disappear fast!
Print3 Ingredient Peanut Butter and Jelly Cups Recipe
Indulge in these simple and delicious 3 Ingredient Peanut Butter and Jelly Cups that are easy to make and perfect for a sweet treat.
- Prep Time: 10 minutes
- Total Time: 40 minutes
- Yield: 10 cups
- Category: Dessert
- Method: Freezing
- Cuisine: American
- Diet: Vegetarian
Ingredients
For the Peanut Butter Layer:
- 1/3 cup coconut oil, melted
- 1 cup unsweetened peanut butter (or almond butter or cashew butter)
- Optional: a few pinches of salt
For the Jelly Layer:
- 1/2 cup fruit-sweetened jam
Optional Topping:
- Coarse salt
Instructions
- Prepare the Peanut Butter Layer: Melt coconut oil and whisk it into the peanut butter until smooth. Add salt if desired.
- Assemble: Spoon a tablespoon of the peanut butter mixture into each muffin liner. Freeze for 10 minutes.
- Add the Jelly: Spoon two teaspoons of jam onto the peanut butter layer. Top with more peanut butter mixture.
- Freeze: Freeze for at least 30 minutes until firm.
- Optional Topping: Sprinkle coarse salt on top before serving if desired.
Notes
- I recommend adding a pinch of salt if using unsalted nut butter.
- Take the cups out of the freezer after 10 minutes for better layering.
Nutrition
- Serving Size: 1 cup
- Calories: 210
- Sugar: 8g
- Sodium: 80mg
- Fat: 16g
- Saturated Fat: 8g
- Unsaturated Fat: 6g
- Trans Fat: 0g
- Carbohydrates: 13g
- Fiber: 2g
- Protein: 6g
- Cholesterol: 0mg
