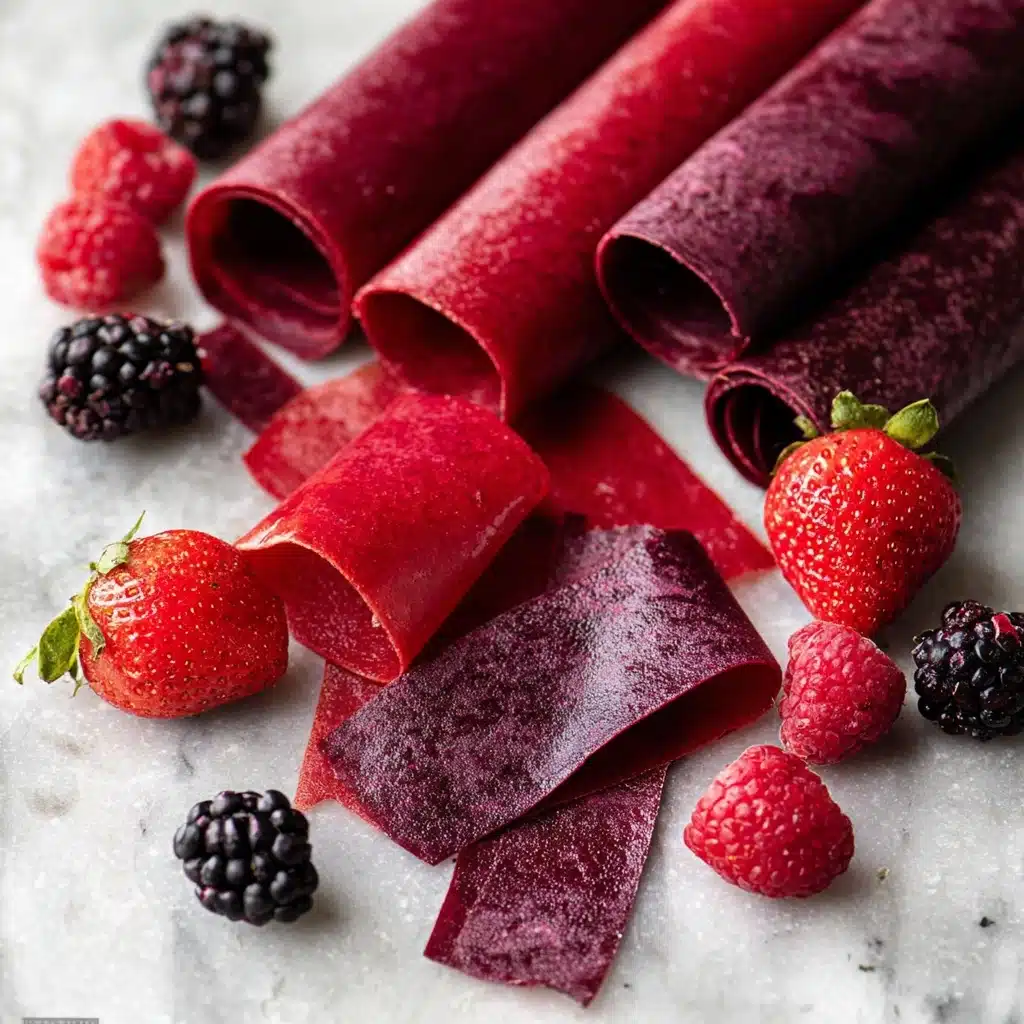
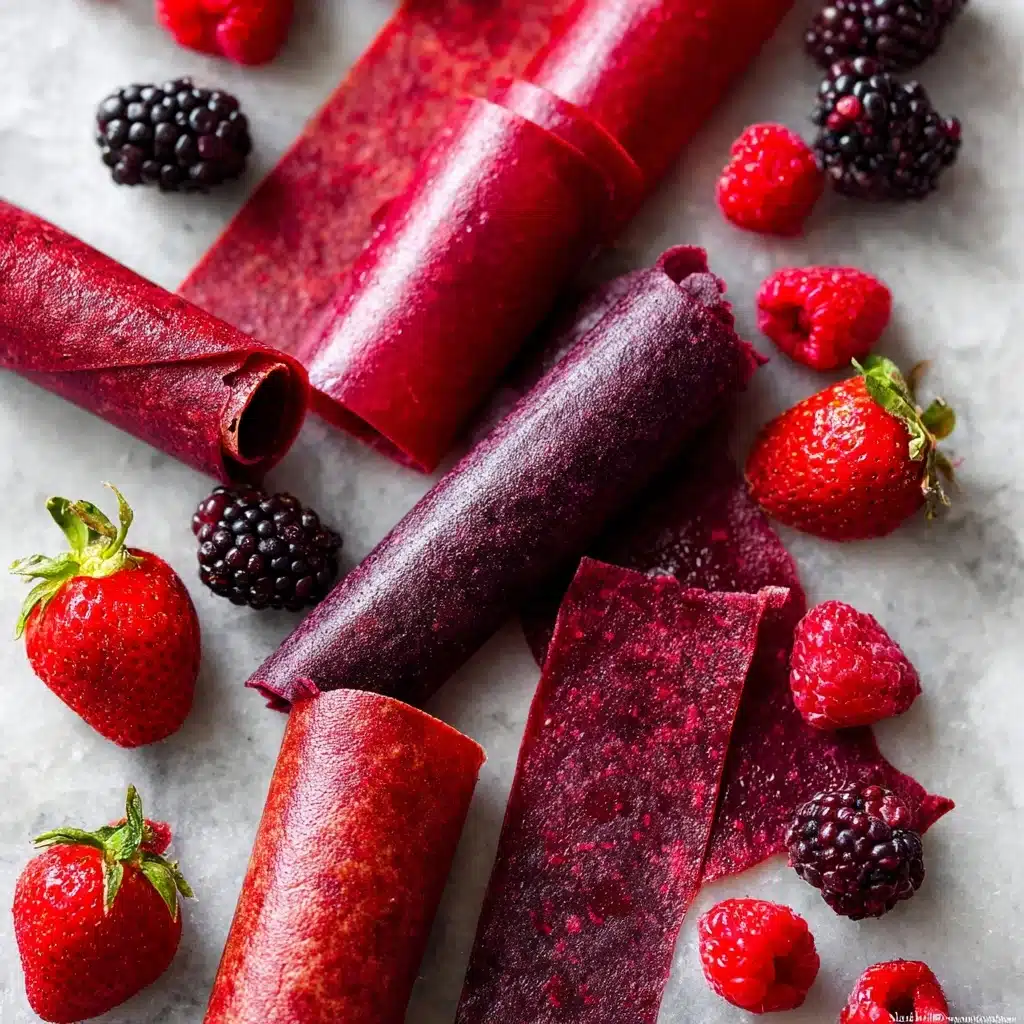
Whether you’re a nostalgia-chaser yearning for the sweet snack of your childhood or a parent looking for a fun, wholesome treat, these Homemade Fruit Roll-Ups are about to become your new kitchen obsession. Bursting with real berries, kissed with honey, and brightened with lemon, these snackable strips pack flavor into every chewy bite—no dyes, no high-fructose anything, just pure fruit goodness. Imagine opening your pantry to find vibrant, glossy rolls waiting to be peeled back and enjoyed—trust me, you’ll be making batch after batch of these colorful gems!

Ingredients You’ll Need
There’s beauty in simplicity, and Homemade Fruit Roll-Ups prove it. Each ingredient plays a starring role, creating a treat as delicious as it is easy. Here’s the short, powerful lineup—real food you can pronounce and taste in every roll.
- 5 cups berries: The heart of your fruit roll-ups! Choose strawberries, raspberries, or whatever berry blend speaks to you for bold color and robust fruit flavor.
- 1/4 cup honey: Adds natural sweetness and helps hold the leather together without overpowering the fresh fruit notes.
- 2 tbsp lemon juice: Just the right touch of brightness—lemon juice balances the sweetness and intensifies the berry flavors perfectly.
How to Make Homemade Fruit Roll-Ups
Step 1: Prepare Your Oven and Pan
Begin by preheating your oven to 170 degrees Fahrenheit or its lowest possible setting. Line a large, rimmed baking sheet (about 17×12 inches) with either parchment paper or a silicone baking mat to ensure easy removal later.
Step 2: Prep the Berries
Rinse your berries thoroughly, and remove any stems or leaves if needed. This little bit of prep makes sure every bite bursts with fresh, pure flavor.
Step 3: Puree the Fruit
Add the berries to your food processor or blender. Pour in the honey and lemon juice, and blend everything up until it’s velvety smooth. This is where those bright, beautiful berry flavors really come together!
Step 4: Strain for Smoothness
For those who love a silky-smooth fruit roll-up, press the puree through a fine mesh strainer to remove seeds and any pulp. This takes a minute or two, but the seedless texture is worth every second.
Step 5: Spread and Smooth
Pour the prepared berry mixture onto your lined baking sheet. Gently spread it out with a spatula or offset knife, aiming for a thin, even layer that covers the entire pan. Even thickness is the secret to perfectly chewy, not-too-crispy fruit leather.
Step 6: Low and Slow Baking
Place your sheet in the oven and let it bake for 5 to 6 hours. Halfway through, rotate the pan for even drying. Your puree is ready when it’s set, no longer sticky to the touch, and pulls away easily from the liner. Patience is key!
Step 7: Cool, Cut, and Roll
Take the pan out and let it cool completely. If you used a silicone baking mat, peel off the cooled fruit leather and lay it onto a big sheet of wax paper. Cut it into long strips, rolling each one up for that classic, snackable look. Homemade Fruit Roll-Ups are ready to enjoy!
How to Serve Homemade Fruit Roll-Ups

Garnishes
Sprinkle your rolls with a dusting of powdered sugar, a drizzle of melted chocolate, or a scattering of shredded coconut for a little extra flair. These tiny touches turn simple snacks into a festive treat. Or, go classic and let those vibrant colors shine all on their own!
Side Dishes
Pack Homemade Fruit Roll-Ups alongside crunchy apple slices, roasted nuts, or pretzel sticks for a lunchbox snack that feels like a celebration. They’re also perfect layered with yogurt or granola for easy parfaits.
Creative Ways to Present
Wrap your finished rolls in parchment paper strips and tie with twine for sweet gifts or party favors. For a fun twist, snip them into bite-sized squares, or spiral them into pinwheels to serve on a colorful platter at your next gathering.
Make Ahead and Storage
Storing Leftovers
Once cooled and rolled, keep your Homemade Fruit Roll-Ups in an airtight container at room temperature. They’ll stay deliciously chewy and fresh for up to two weeks—if they last that long!
Freezing
Fruit roll-ups freeze beautifully. Just wrap each roll tightly in plastic wrap or parchment, then tuck them into a freezer bag. They can hang out in your freezer for up to three months, making it easy to grab a sweet homemade snack any time.
Reheating
There’s no need to reheat Homemade Fruit Roll-Ups, but if you like them softer, let them sit at room temperature for a few minutes after taking them from the fridge or freezer. They’ll regain that perfect flexibility and chew.
FAQs
Can I use other fruits besides berries?
Absolutely! Any soft, juicy fruit works well—think mangoes, peaches, apricots, or even a blend of several. Just aim for the same measurement and adjust the sweetener to taste if your chosen fruits are extra tart or mild.
How do I know if my fruit roll-ups are done baking?
Your Homemade Fruit Roll-Ups should be dry to the touch, yet still pliable and a bit tacky. If it’s sticky or mushy in the center, give it more time and check every 30 minutes toward the end.
Is it possible to make these without added honey?
Of course! You can skip the honey or replace it with another natural sweetener like maple syrup, or simply rely on extra-sweet fruit for a sugar-free version. Taste your puree and adjust as you like.
Can I make these with frozen berries?
Yes, frozen berries work like a charm. Thaw and drain them first to avoid excess liquid, then follow the recipe as written. The result is still vibrant, flavorful, and so satisfying.
Do I need a dehydrator for Homemade Fruit Roll-Ups?
Nope! An oven set at its lowest temperature does the job perfectly. A dehydrator also works if you have one, but it’s absolutely not essential for this fruity recipe.
Final Thoughts
If you’ve been craving a snack that’s fun, fruity, and seriously satisfying, look no further than these Homemade Fruit Roll-Ups. It only takes a handful of ingredients and a little patience to make a treat everyone will love—so roll up your sleeves, and treat yourself to a snack that’s as fresh and colorful as your kitchen can make!
PrintHomemade Fruit Roll-Ups Recipe
Learn how to make delicious homemade fruit roll-ups with this easy recipe. Perfect for a healthy snack, these fruit roll-ups are made with fresh berries, honey, and lemon juice.
- Prep Time: 20 minutes
- Cook Time: 5 hours
- Total Time: 5 hours 20 minutes
- Yield: 7 roll-ups
- Category: Snack
- Method: Baking
- Cuisine: American
- Diet: Vegetarian
Ingredients
Berries:
- 5 cups berries
Honey:
- 1/4 cup honey
Lemon Juice:
- 2 tbsp lemon juice
Instructions
- Preheat Oven: Preheat oven to 170°F (or lowest temperature).
- Prepare Pan: Line baking pan with parchment paper.
- Blend Berries: Rinse, remove stems, blend berries with honey and lemon juice.
- Strain: Strain puree to remove seeds.
- Spread Puree: Spread puree on pan evenly.
- Bake: Bake at 170°F for 5-6 hours, rotating pan halfway.
- Cool and Cut: Cool, peel, cut into strips, and roll.
- Store: Store in airtight container.
Nutrition
- Serving Size: 1 roll-up
- Calories: 94 kcal
- Sugar: 19g
- Sodium: 2mg
- Fat: 1g
- Saturated Fat: 1g
- Unsaturated Fat: 0g
- Trans Fat: 0g
- Carbohydrates: 24g
- Fiber: 3g
- Protein: 1g
- Cholesterol: 0mg


