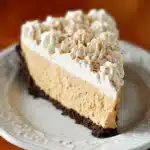
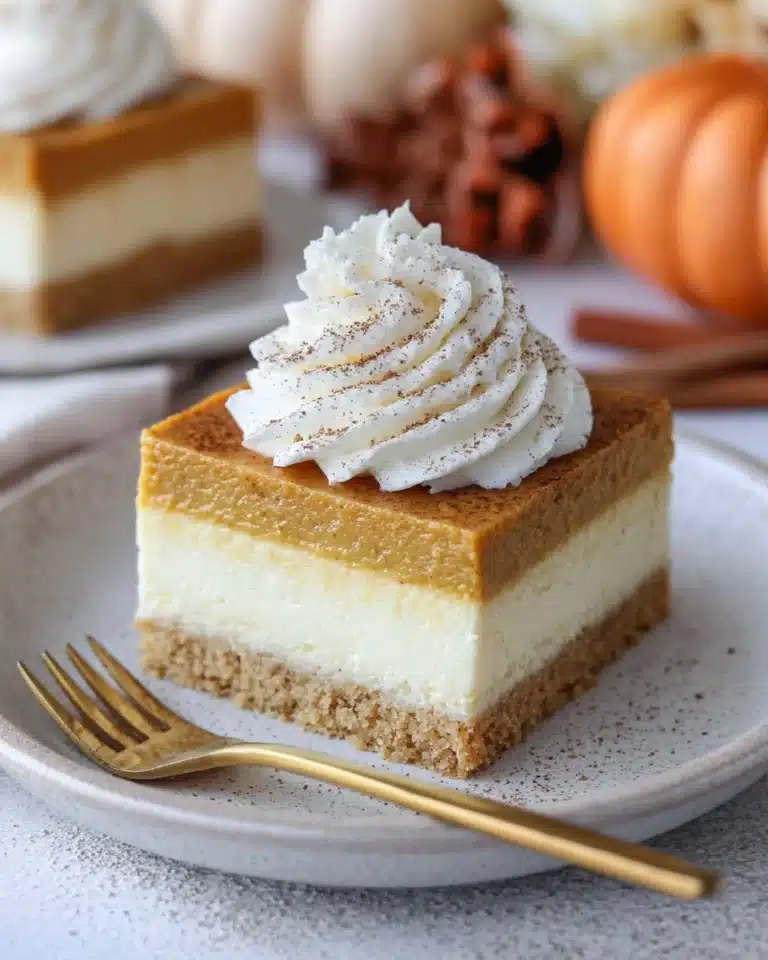
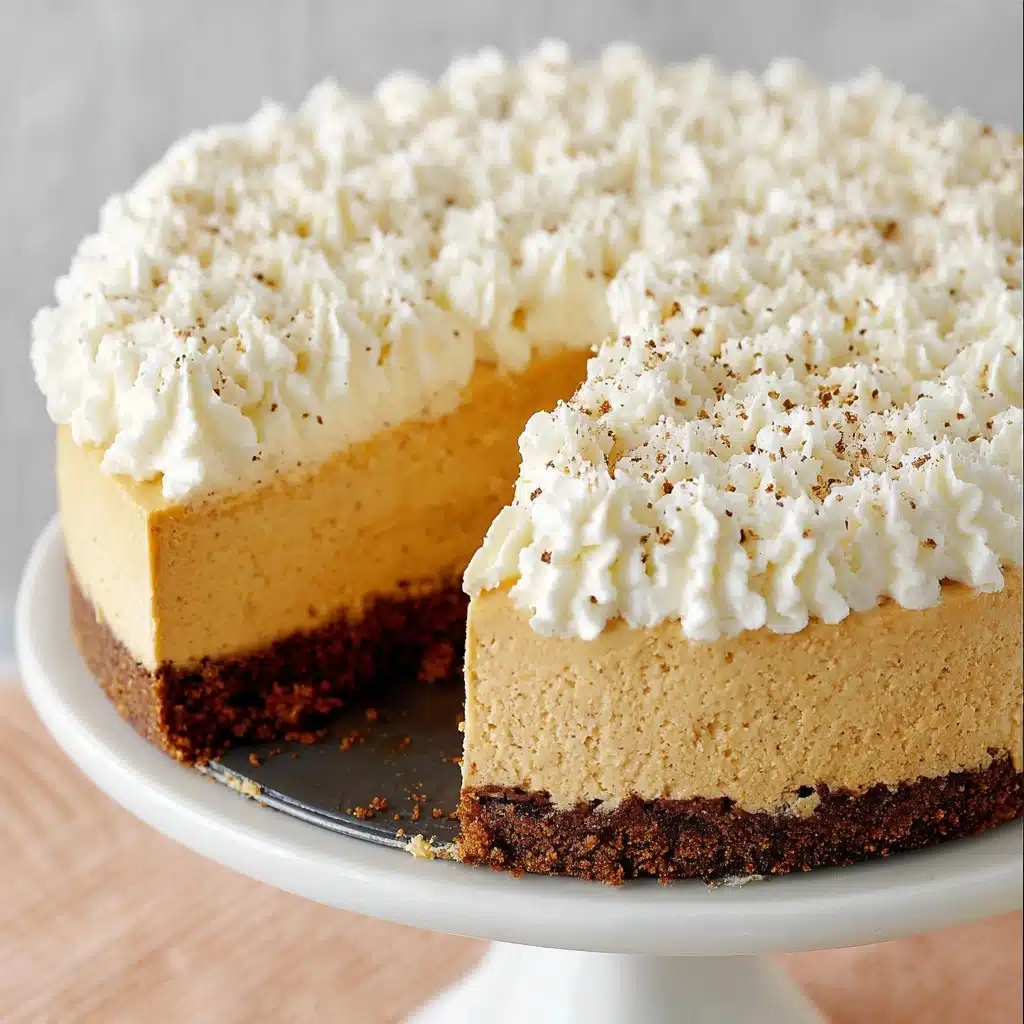
If you’re searching for a show-stopping dessert that’s no-bake, feather-light, and absolutely bursting with all the best fall flavors, my Pumpkin Silk Pie Recipe is exactly what you need. Picture this: a buttery, crisp gingersnap crust supporting a creamy pumpkin filling that’s as silky as it is dreamy, all crowned with clouds of whipped topping and a hint of spice. This pie is the ultimate celebration of pumpkin season, and I can’t wait for you to experience every irresistible bite!
Ingredients You’ll Need
You only need a handful of easy-to-find ingredients to bring out the true star qualities of this Pumpkin Silk Pie Recipe. Each one is carefully chosen to enhance the flavor, texture, or color, letting the pumpkin shine while adding delicious complexity.
- Gingersnaps: These crunchy cookies transform into the most aromatic, spicy-sweet crust that perfectly sets off the creamy pumpkin filling.
- Butter (melted): Acts as the binder for the crust and delivers that rich, buttery finish everyone loves in a great pie.
- Granulated Sugar: Adds balance and sweetness to the spicy gingersnaps in your crust.
- Cream Cheese (softened): The backbone of the filling, lending structure and luscious tang that cuts through the sweetness.
- Vanilla Extract: Just a splash rounds out the flavors and gives complexity to the creamy filling.
- Pumpkin Pie Spice: Infuses every bite of the pie and garnish with cozy, autumnal warmth.
- Powdered Sugar: Blends seamlessly into the filling for sweetness and smoothness—no grittiness allowed!
- Pumpkin Puree: Provides that unmistakable pumpkin flavor and vibrant color—just make sure you’re using pure pumpkin, not pie filling.
- Cool Whip (thawed): The secret to the pie’s pillowy, airy texture; you’ll fold it into the filling and swoop more on top for serving.
- Whipped Cream (for garnish): Optional, but a delightfully fresh way to finish off each generous slice.
How to Make Pumpkin Silk Pie Recipe
Step 1: Prepare the Gingersnap Crust
Start by crushing your gingersnaps into fine crumbs—either with a food processor or the old-school way: in a zip-top bag with a rolling pin! Mix the crumbs with melted butter and sugar until the texture resembles wet sand. Press this mixture firmly into the bottom of a 9-inch springform pan, making sure you compact it well for a sturdy crust. Pop the pan into the freezer while you make your dreamy filling.
Step 2: Whip the Cream Cheese
In a large mixing bowl, beat the softened cream cheese until it’s fluffy and smooth. This step makes sure your Pumpkin Silk Pie Recipe filling is as light as possible, with no lumps of cheese—be patient and let those beaters do their thing!
Step 3: Create the Pumpkin Silk Filling
Add in the powdered sugar, pumpkin puree, vanilla, and pumpkin pie spice right into the whipped cream cheese, then continue beating until everything is completely blended. The aroma at this stage is pure autumn magic and the mixture should be silky, intensely pumpkiny, and irresistibly creamy.
Step 4: Fold in the Cool Whip
Once your base is smooth, gently fold in a full (thawed) tub of Cool Whip. Use a spatula and light strokes—this is what gives your Pumpkin Silk Pie Recipe its signature airy texture. Go gently to keep the mixture as fluffy as possible!
Step 5: Assemble and Chill
Grab your chilled crust from the freezer and spoon the pumpkin silk mixture on top. Spread it with love all the way to the edges for a smooth, even layer. Cover lightly and let the pie chill in the fridge for at least two hours, or overnight, to let it set. This resting time is crucial for perfect, clean slices.
Step 6: Garnish and Serve
When you’re ready to wow your guests, release the sides of the springform pan. Swoop on a generous topping of Cool Whip (or freshly whipped cream) and sprinkle the top with a pinch of pumpkin pie spice. Your Pumpkin Silk Pie Recipe is now ready for its grand debut!
How to Serve Pumpkin Silk Pie Recipe
Garnishes
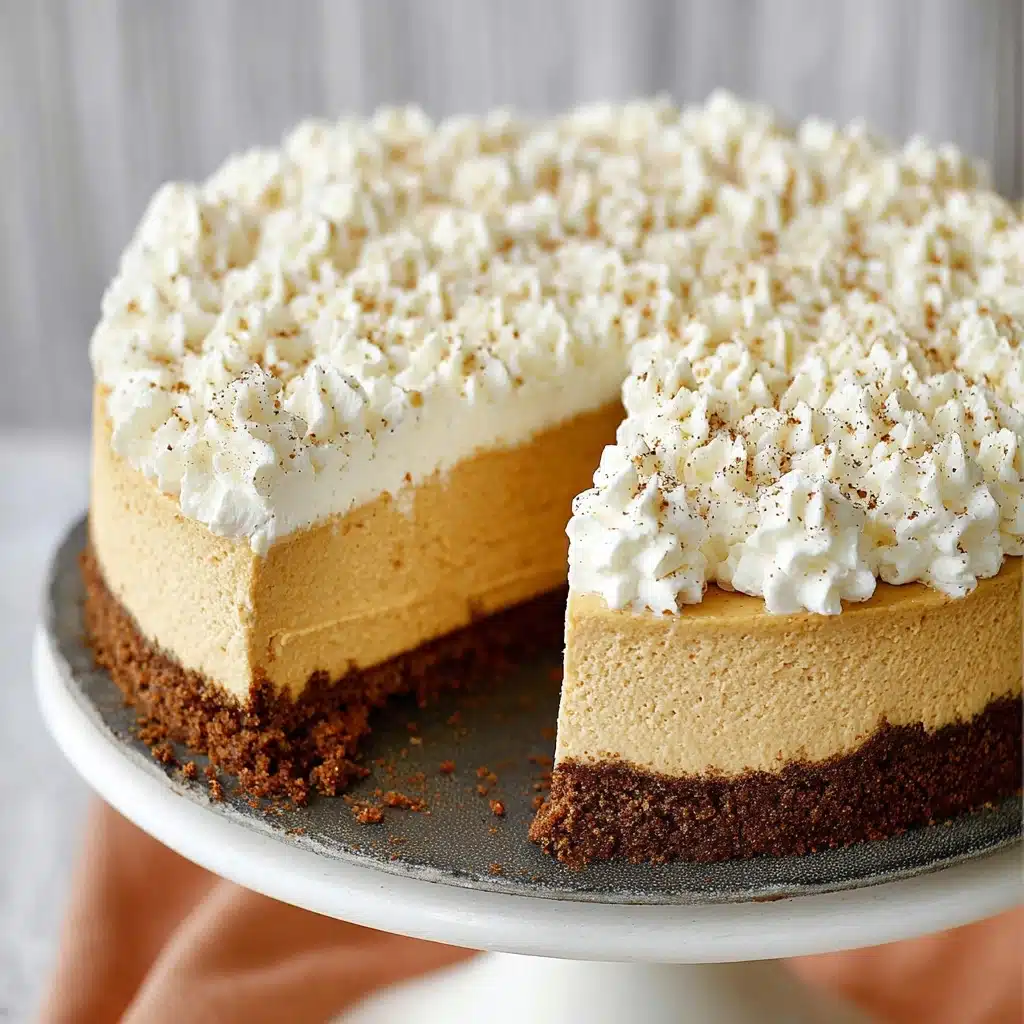
For me, a show-stopper dessert always deserves a little flourish. I love dolloping extra whipped topping all over the pie, then dusting with pumpkin pie spice, cinnamon, or a touch of grated nutmeg. Try adding a few whole gingersnaps or candied pecans on top for a beautiful crunchy contrast—your guests will swoon before they even get their first bite.
Side Dishes
Keep things simple yet festive when pairing sides with your Pumpkin Silk Pie Recipe. A steaming cup of coffee, chai tea, or even a latte with cinnamon is the perfect cozy accompaniment. If you want a fruit element, try a small bowl of orange segments or ginger-poached pears to refresh the palate between rich, silky bites.
Creative Ways to Present
This pie is so versatile for entertaining! For a dinner party, serve in elegant slices with petite forks. Hosting a buffet? Cut the pie into “pie bites” or squares and arrange on a platter with toothpicks and a bowl of extra whipped cream for dipping. Mini individual pies in mason jars or dessert cups are adorable and convenient for special events.
Make Ahead and Storage
Storing Leftovers
Your Pumpkin Silk Pie Recipe keeps beautifully in the fridge for 3 to 4 days. Simply cover it loosely with plastic wrap or transfer slices to an airtight container to keep the filling fresh and the crust crisp.
Freezing
You can absolutely freeze this pie for longer storage. Chill the pie first so it sets up, then wrap well in plastic and foil. It’ll be delicious for up to two months. Thaw overnight in the fridge, or let slices sit out for about 30 minutes before serving for the perfect texture.
Reheating
No reheating needed—this is a no-bake, serve-chilled delight! If you’re serving from frozen, just let it thaw in the fridge (or on the counter for a short while) until silky and soft enough to slice.
FAQs
Can I use homemade whipped cream instead of Cool Whip?
Absolutely! Freshly whipped cream gives a beautiful homemade touch. Just make sure it’s whipped to soft peaks and gently folded in to maintain that signature silkiness of your Pumpkin Silk Pie Recipe.
What’s the best way to crush gingersnaps for the crust?
A food processor is quickest for super-fine crumbs, but you can use a zip-top bag and rolling pin if you want a little more texture. Just make sure the crumbs are even for the best crust structure!
Can I use pumpkin pie filling instead of pumpkin puree?
For this recipe, stick with pure pumpkin puree. Pumpkin pie filling contains extra sugar and spices, which could make your Pumpkin Silk Pie Recipe too sweet and throw off the flavors.
How far in advance can I make this pie?
You can easily make the entire pie a day ahead and keep it chilled until serving. In fact, letting it sit overnight helps develop the flavor and makes for even cleaner, picture-perfect slices.
Any tips for getting the pie out of the pan cleanly?
Springform pans make unmolding super easy. Run a thin knife around the edge before releasing the sides. For extra tidy slices, dip your knife in hot water between every cut and wipe dry.
Final Thoughts
I truly hope you give this Pumpkin Silk Pie Recipe a place at your next celebration or cozy night in. It’s delightfully simple, yet always leaves a big impression—so light, creamy, and packed with classic pumpkin flavor. Gather your gingersnaps, whip up that silken filling, and get ready for lots of recipe requests. Enjoy every last bite!
PrintPumpkin Silk Pie Recipe
Indulge in the creamy and luscious Pumpkin Silk Pie, a delightful dessert perfect for fall gatherings or holiday feasts. This no-bake pie features a velvety pumpkin cream cheese filling on a spiced gingersnap crust, topped with a dollop of whipped cream and a sprinkle of pumpkin pie spice.
- Prep Time: 30 minutes
- Total Time: 2 hours 30 minutes
- Yield: 16 servings
- Category: Dessert
- Method: No-Bake
- Cuisine: American
- Diet: Vegetarian
Ingredients
Cookie Crust
- 32 gingersnaps
- ¼ cup butter, melted
- ¼ cup granulated sugar
Pumpkin Cream Cheese Filling
- 8 oz cream cheese, softened
- 2 teaspoons vanilla
- ½ teaspoon pumpkin pie spice
- 1 cup powdered sugar
- 1 cup pumpkin puree
- 16 oz container Cool Whip, thawed
Garnish
- 2 cups Cool Whip or whipped cream
- ⅛ teaspoon pumpkin pie spice
Instructions
- Prepare Cookie Crust: Finely crush 32 gingersnaps. Mix with melted butter and granulated sugar. Press into a 9-inch springform pan and freeze.
- Make Pumpkin Cream Cheese Filling: Beat softened cream cheese until fluffy. Add powdered sugar, pumpkin puree, vanilla, and pumpkin pie spice. Beat until smooth. Fold in Cool Whip.
- Assemble Pie: Spread the filling over the crust. Chill in the fridge for a few hours or overnight to set.
- Finish and Serve: Remove the pan sides, top with Cool Whip or whipped cream, and sprinkle with pumpkin pie spice.
Notes
- Storage: Keep covered in the fridge for 3-4 days or freeze for up to two months. Thaw in the fridge.
Nutrition
- Serving Size: 1 slice
- Calories: 266 kcal
- Sugar: 23g
- Sodium: 173mg
- Fat: 14g
- Saturated Fat: 9g
- Unsaturated Fat: 4g
- Trans Fat: 0.1g
- Carbohydrates: 32g
- Fiber: 1g
- Protein: 3g
- Cholesterol: 23mg

